Tutorial: Visualize your own location data with Data-driven styling for datasets
How to get big data on a map in a matter of minutes
Do you have a dataset with location data that you want to put on the map? With Google's Data-driven styling for datasets, this is now easier than ever. In this tutorial, our developer Katherina Marcenko shows you how to visualize your own data on an interactive map – with just a few lines of code.


Katherina Marcenko (2nd from left), Kat for short, has been a frontend developer at Ubilabs since 2019. Together with her team, she works mainly on projects for Google and co-developed the official demo for Google's Data-driven styling feature.
Putting Hamburg's public transport on the map
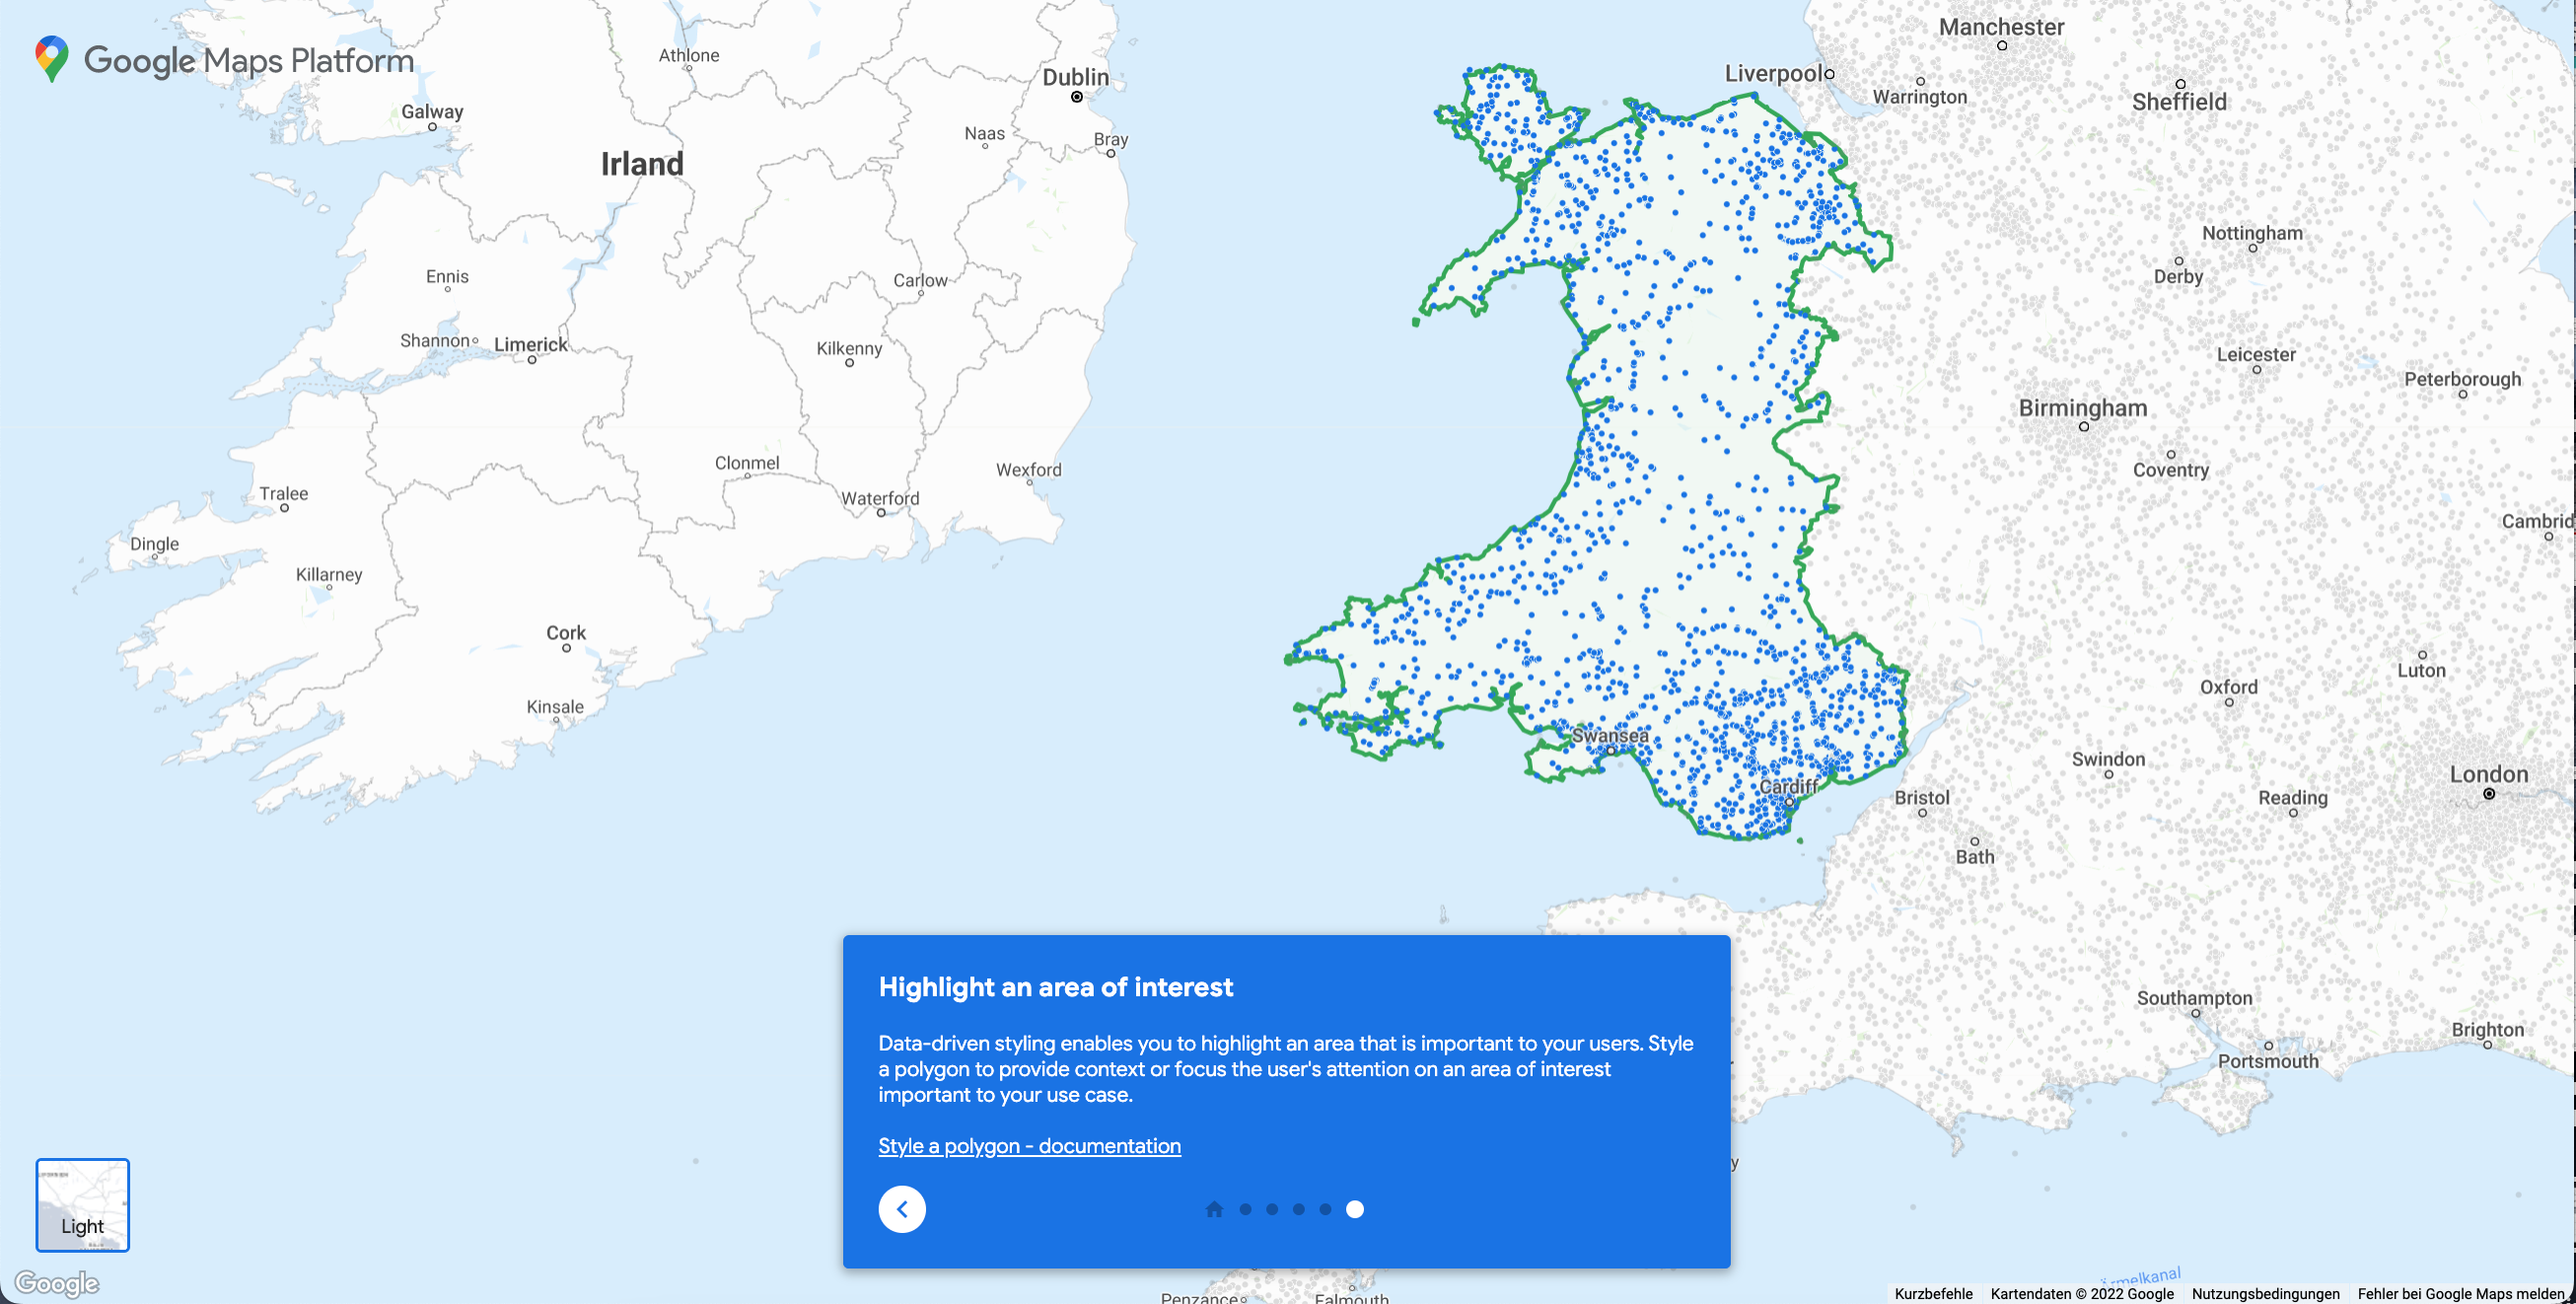
In our tutorial, Kat shows you how easy it is to visualize your own data set with data-driven styling using public transport data from Hamburg as an example. You can download the data here.* Now follow the next 10 steps to put the data on the map. All you have to do is upload the data to the Google Cloud Console and style it; most of the visualization work is done by Google's Data-driven styling feature.
Tutorial shortcuts
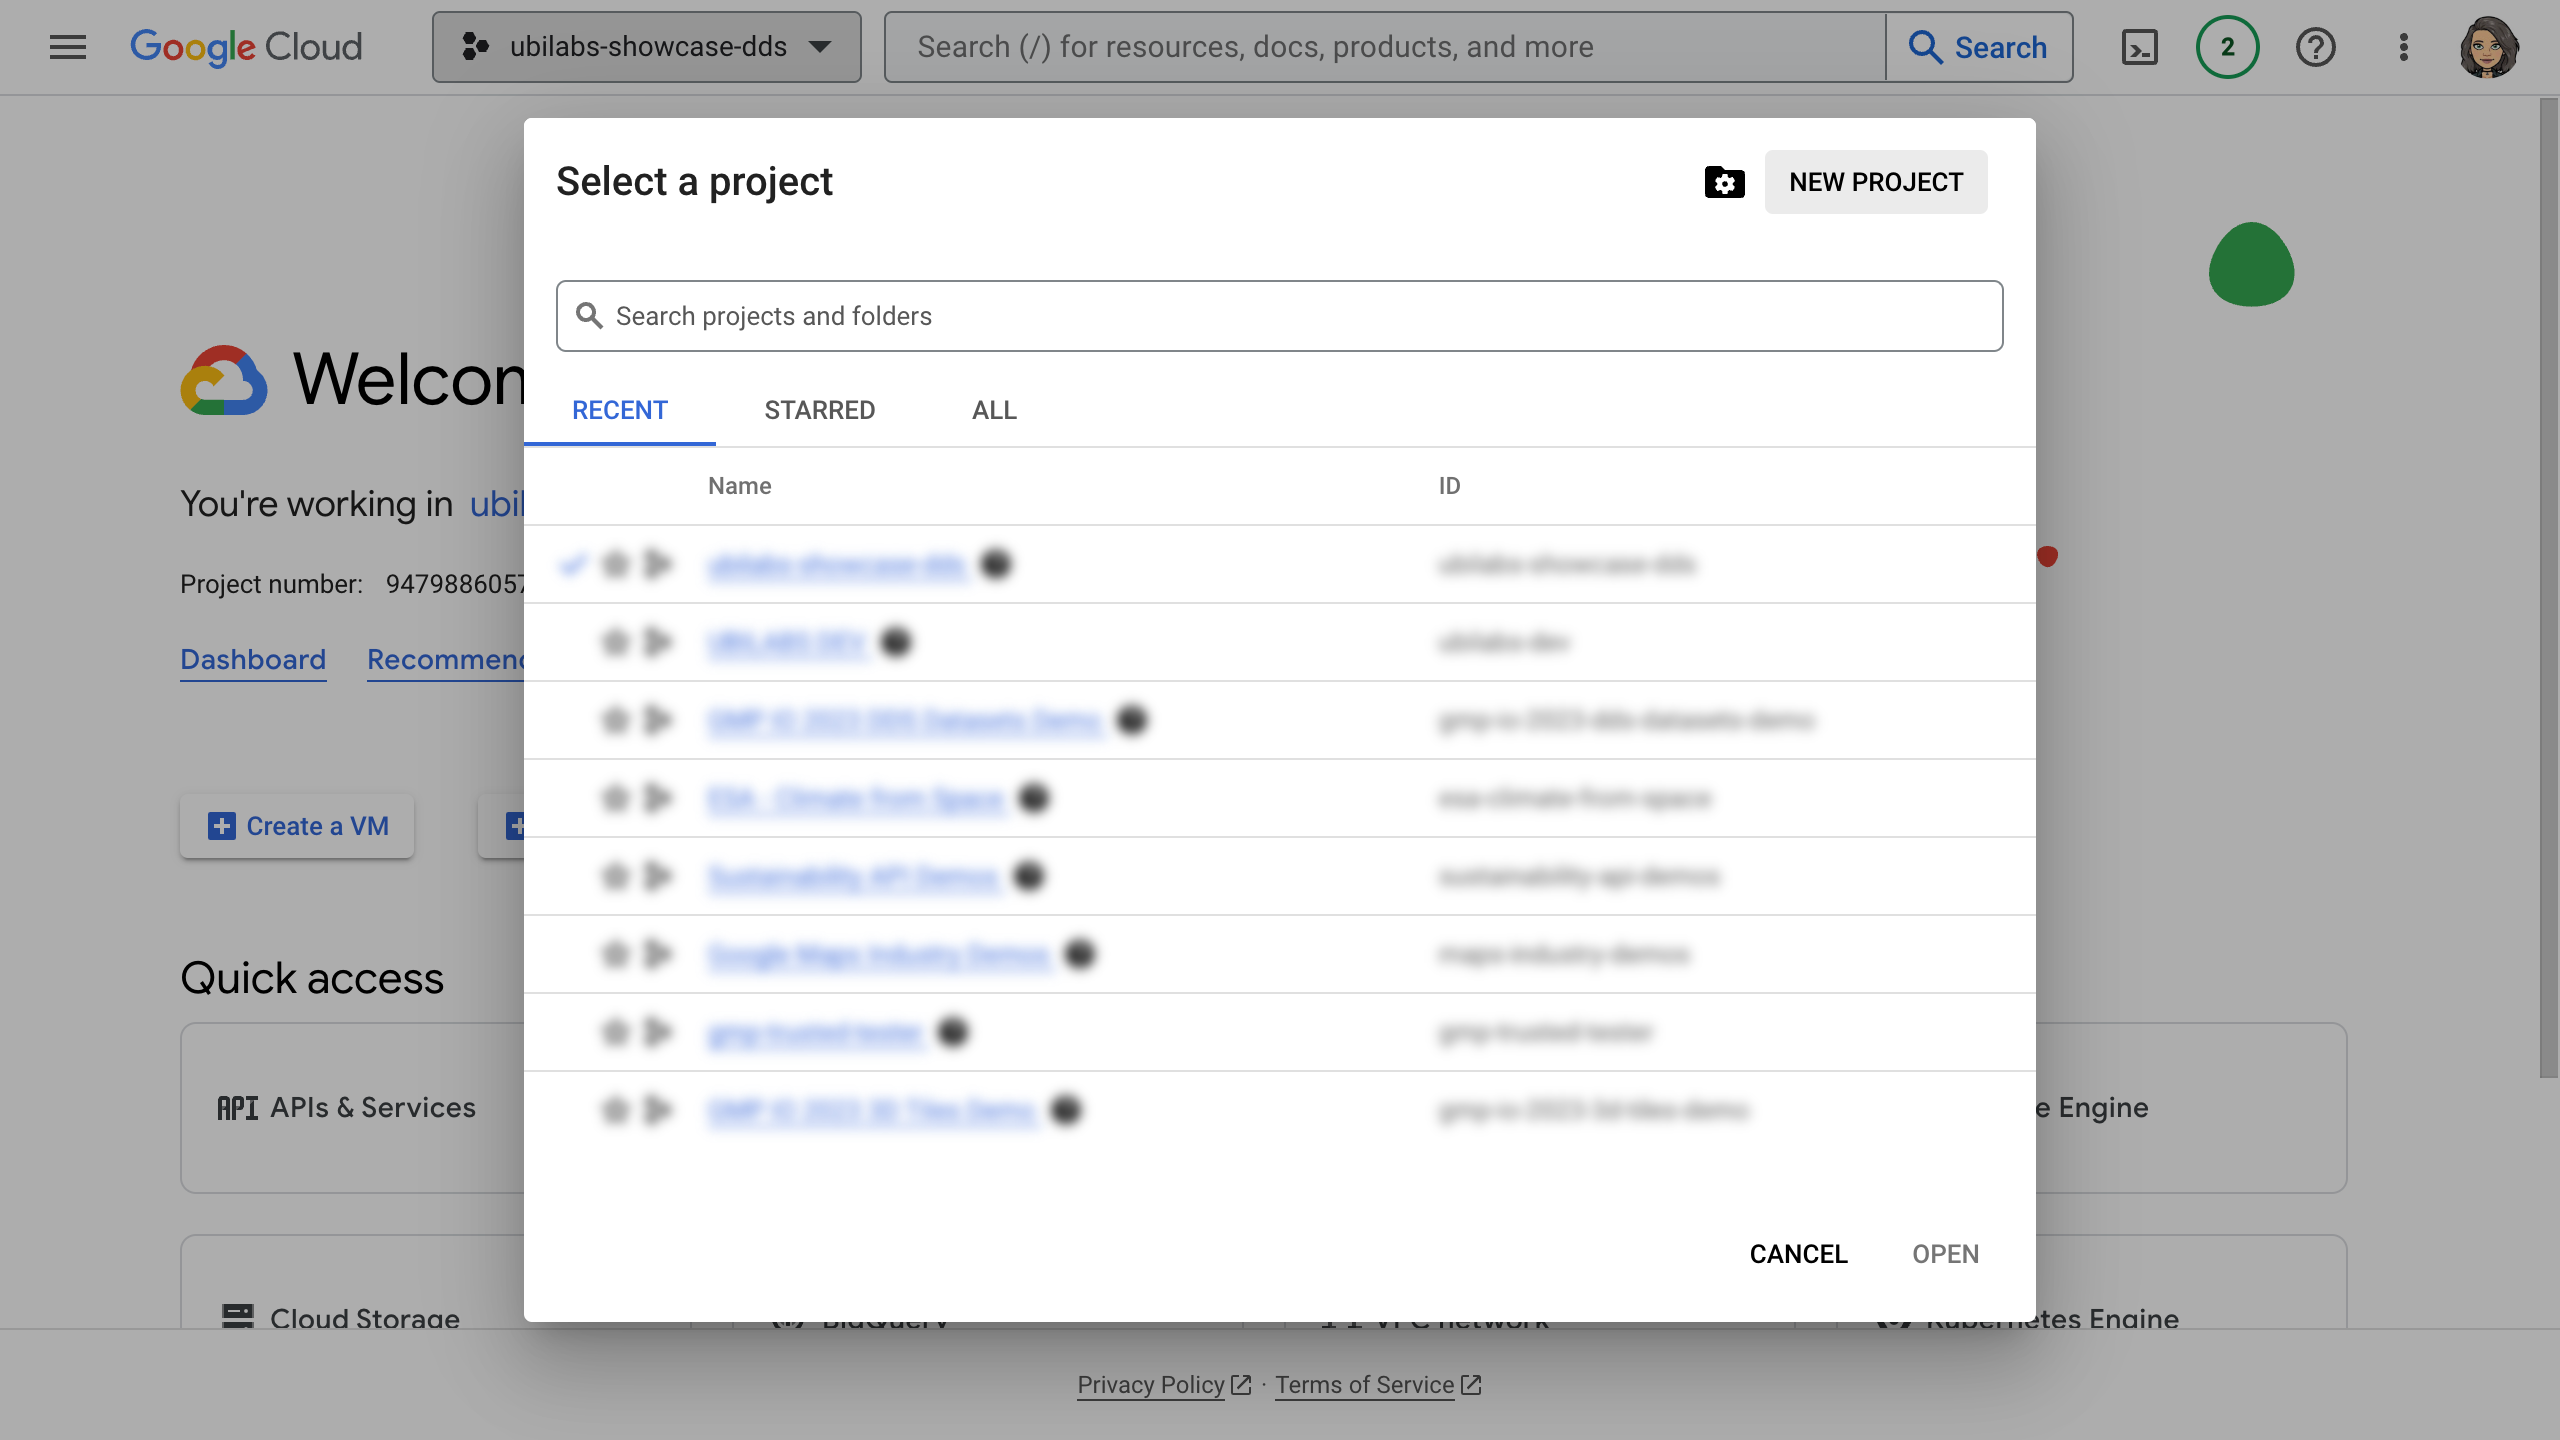
1. Create GCP project
Login or sign up in Google Cloud Platform. Select an existing project or a create a new one.

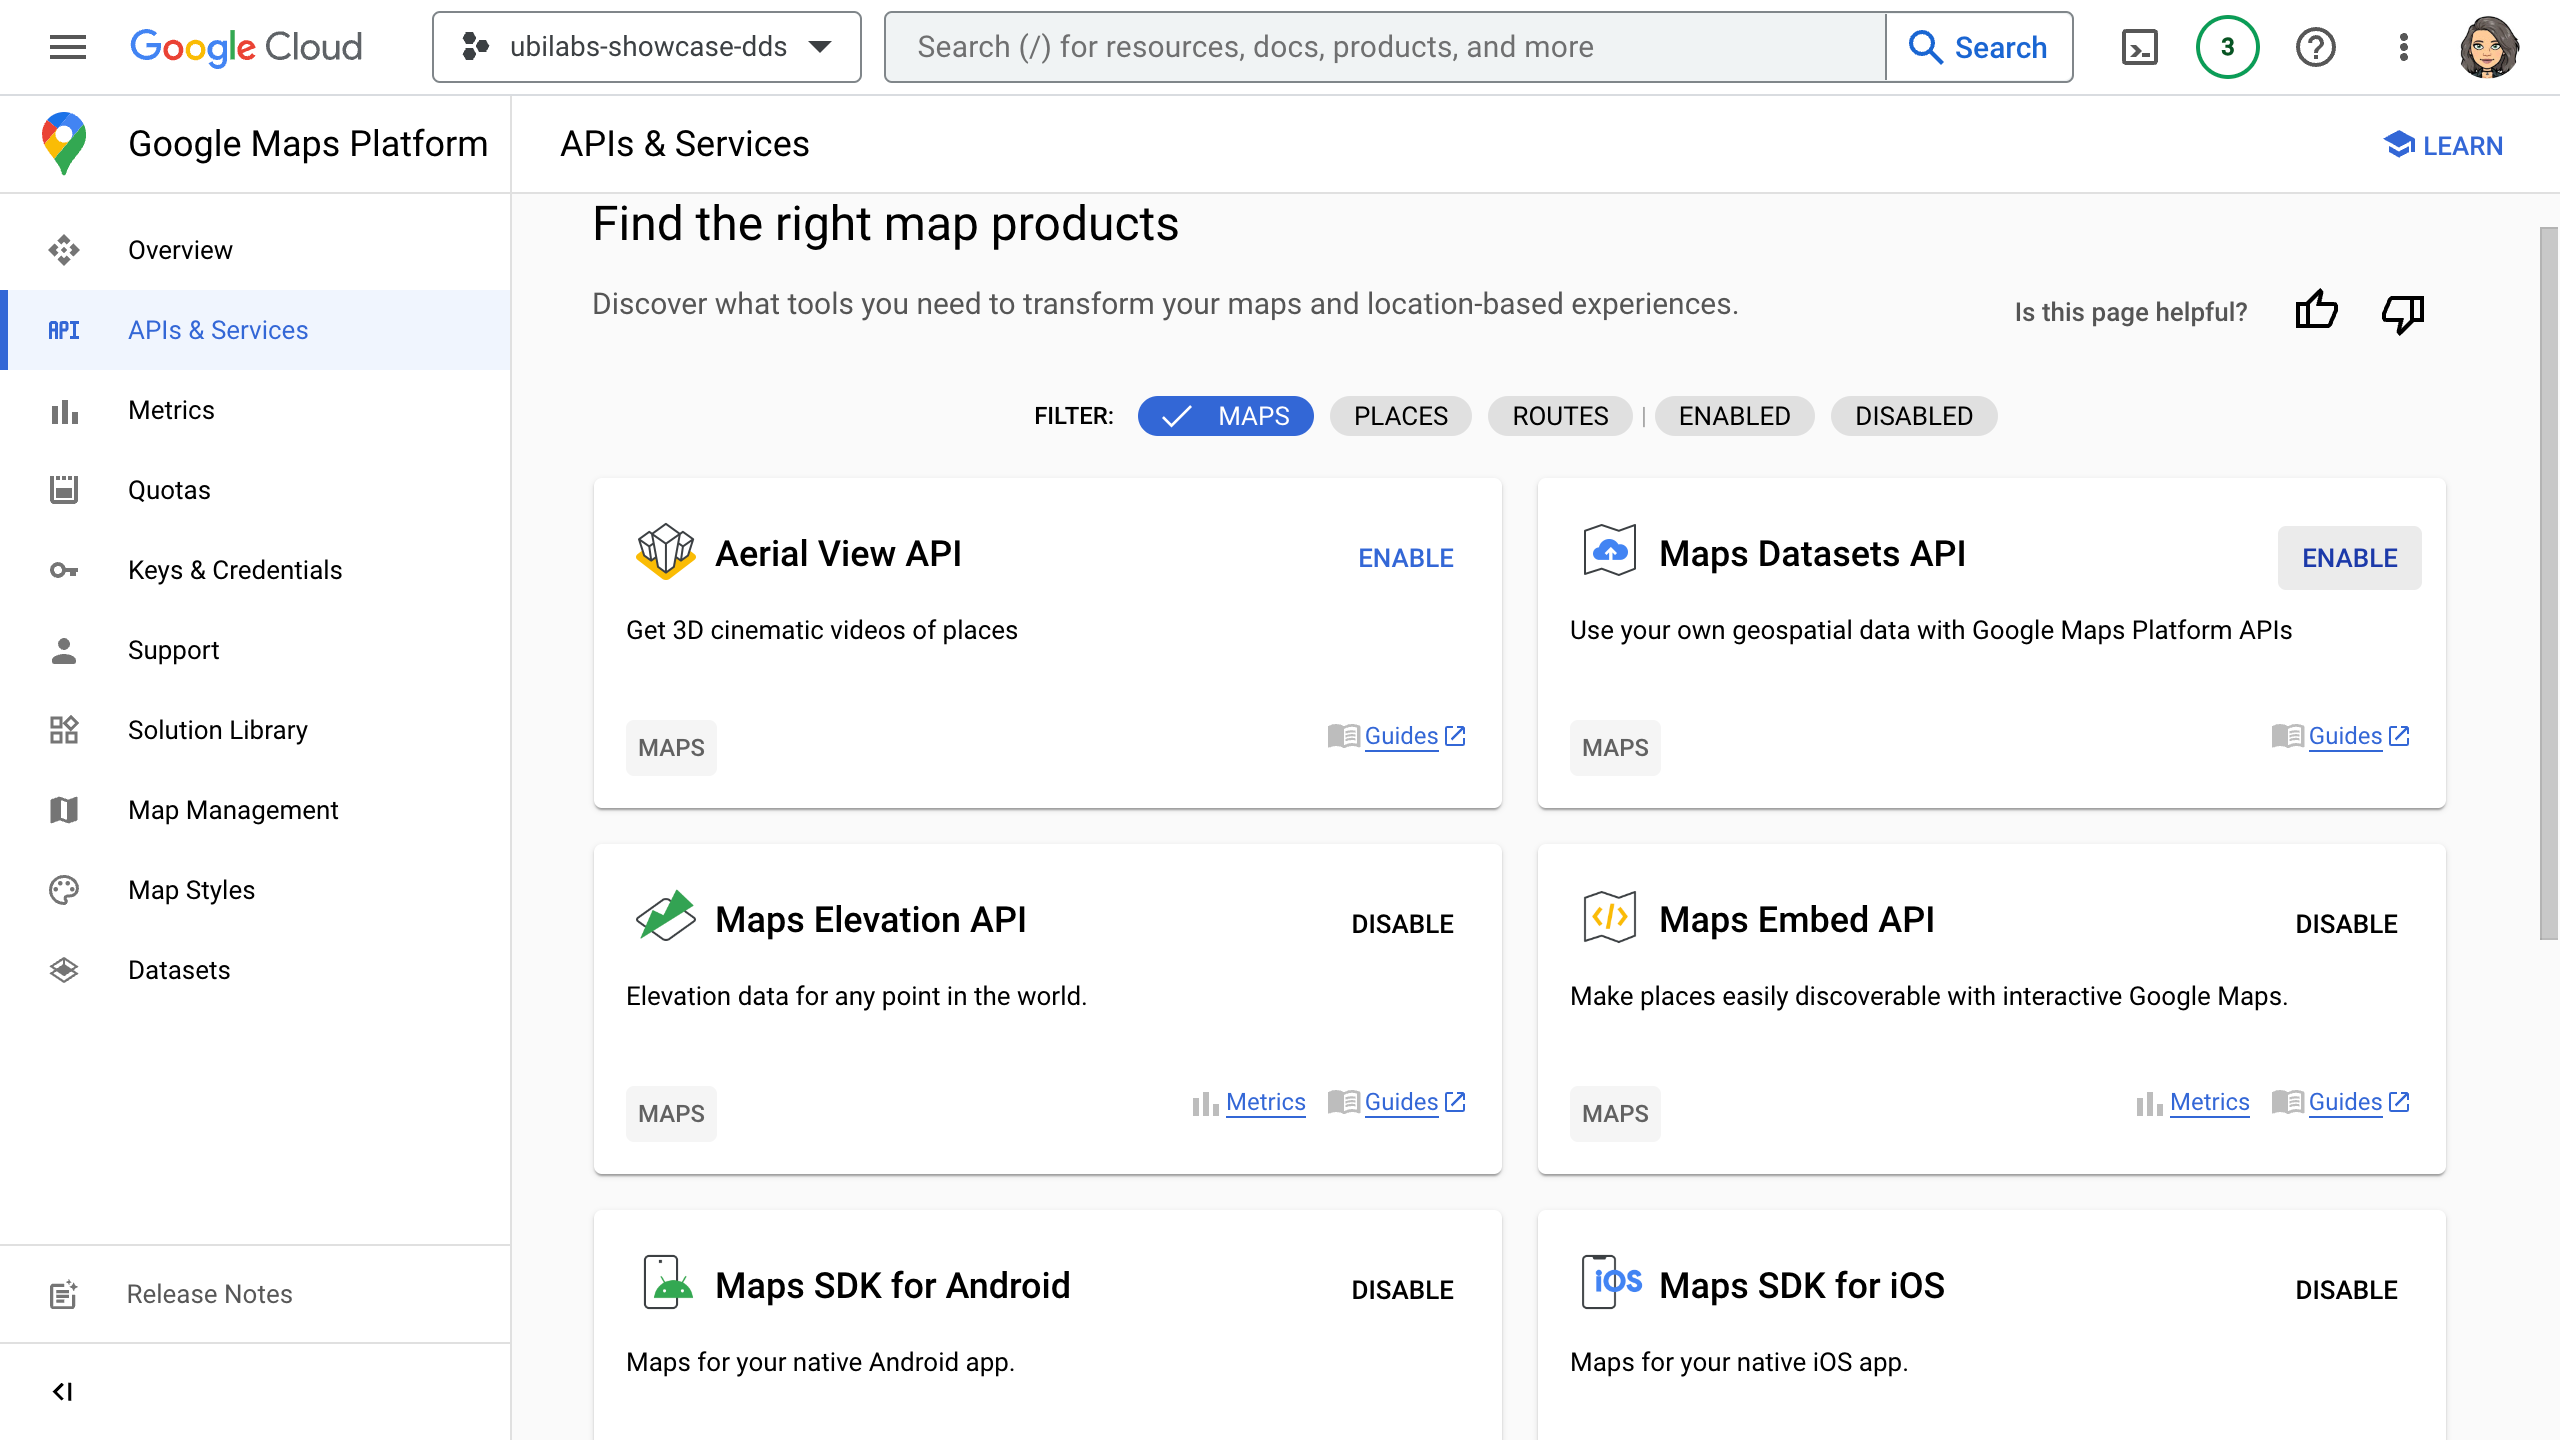
2. Enable APIs
In order to start using the GMP services, you need to enable the Maps Dataset API as well as the Maps JavaScript API. You can do this either on the overview page or by navigating to "APIs & Services" and selecting the relevant APIs from the list.

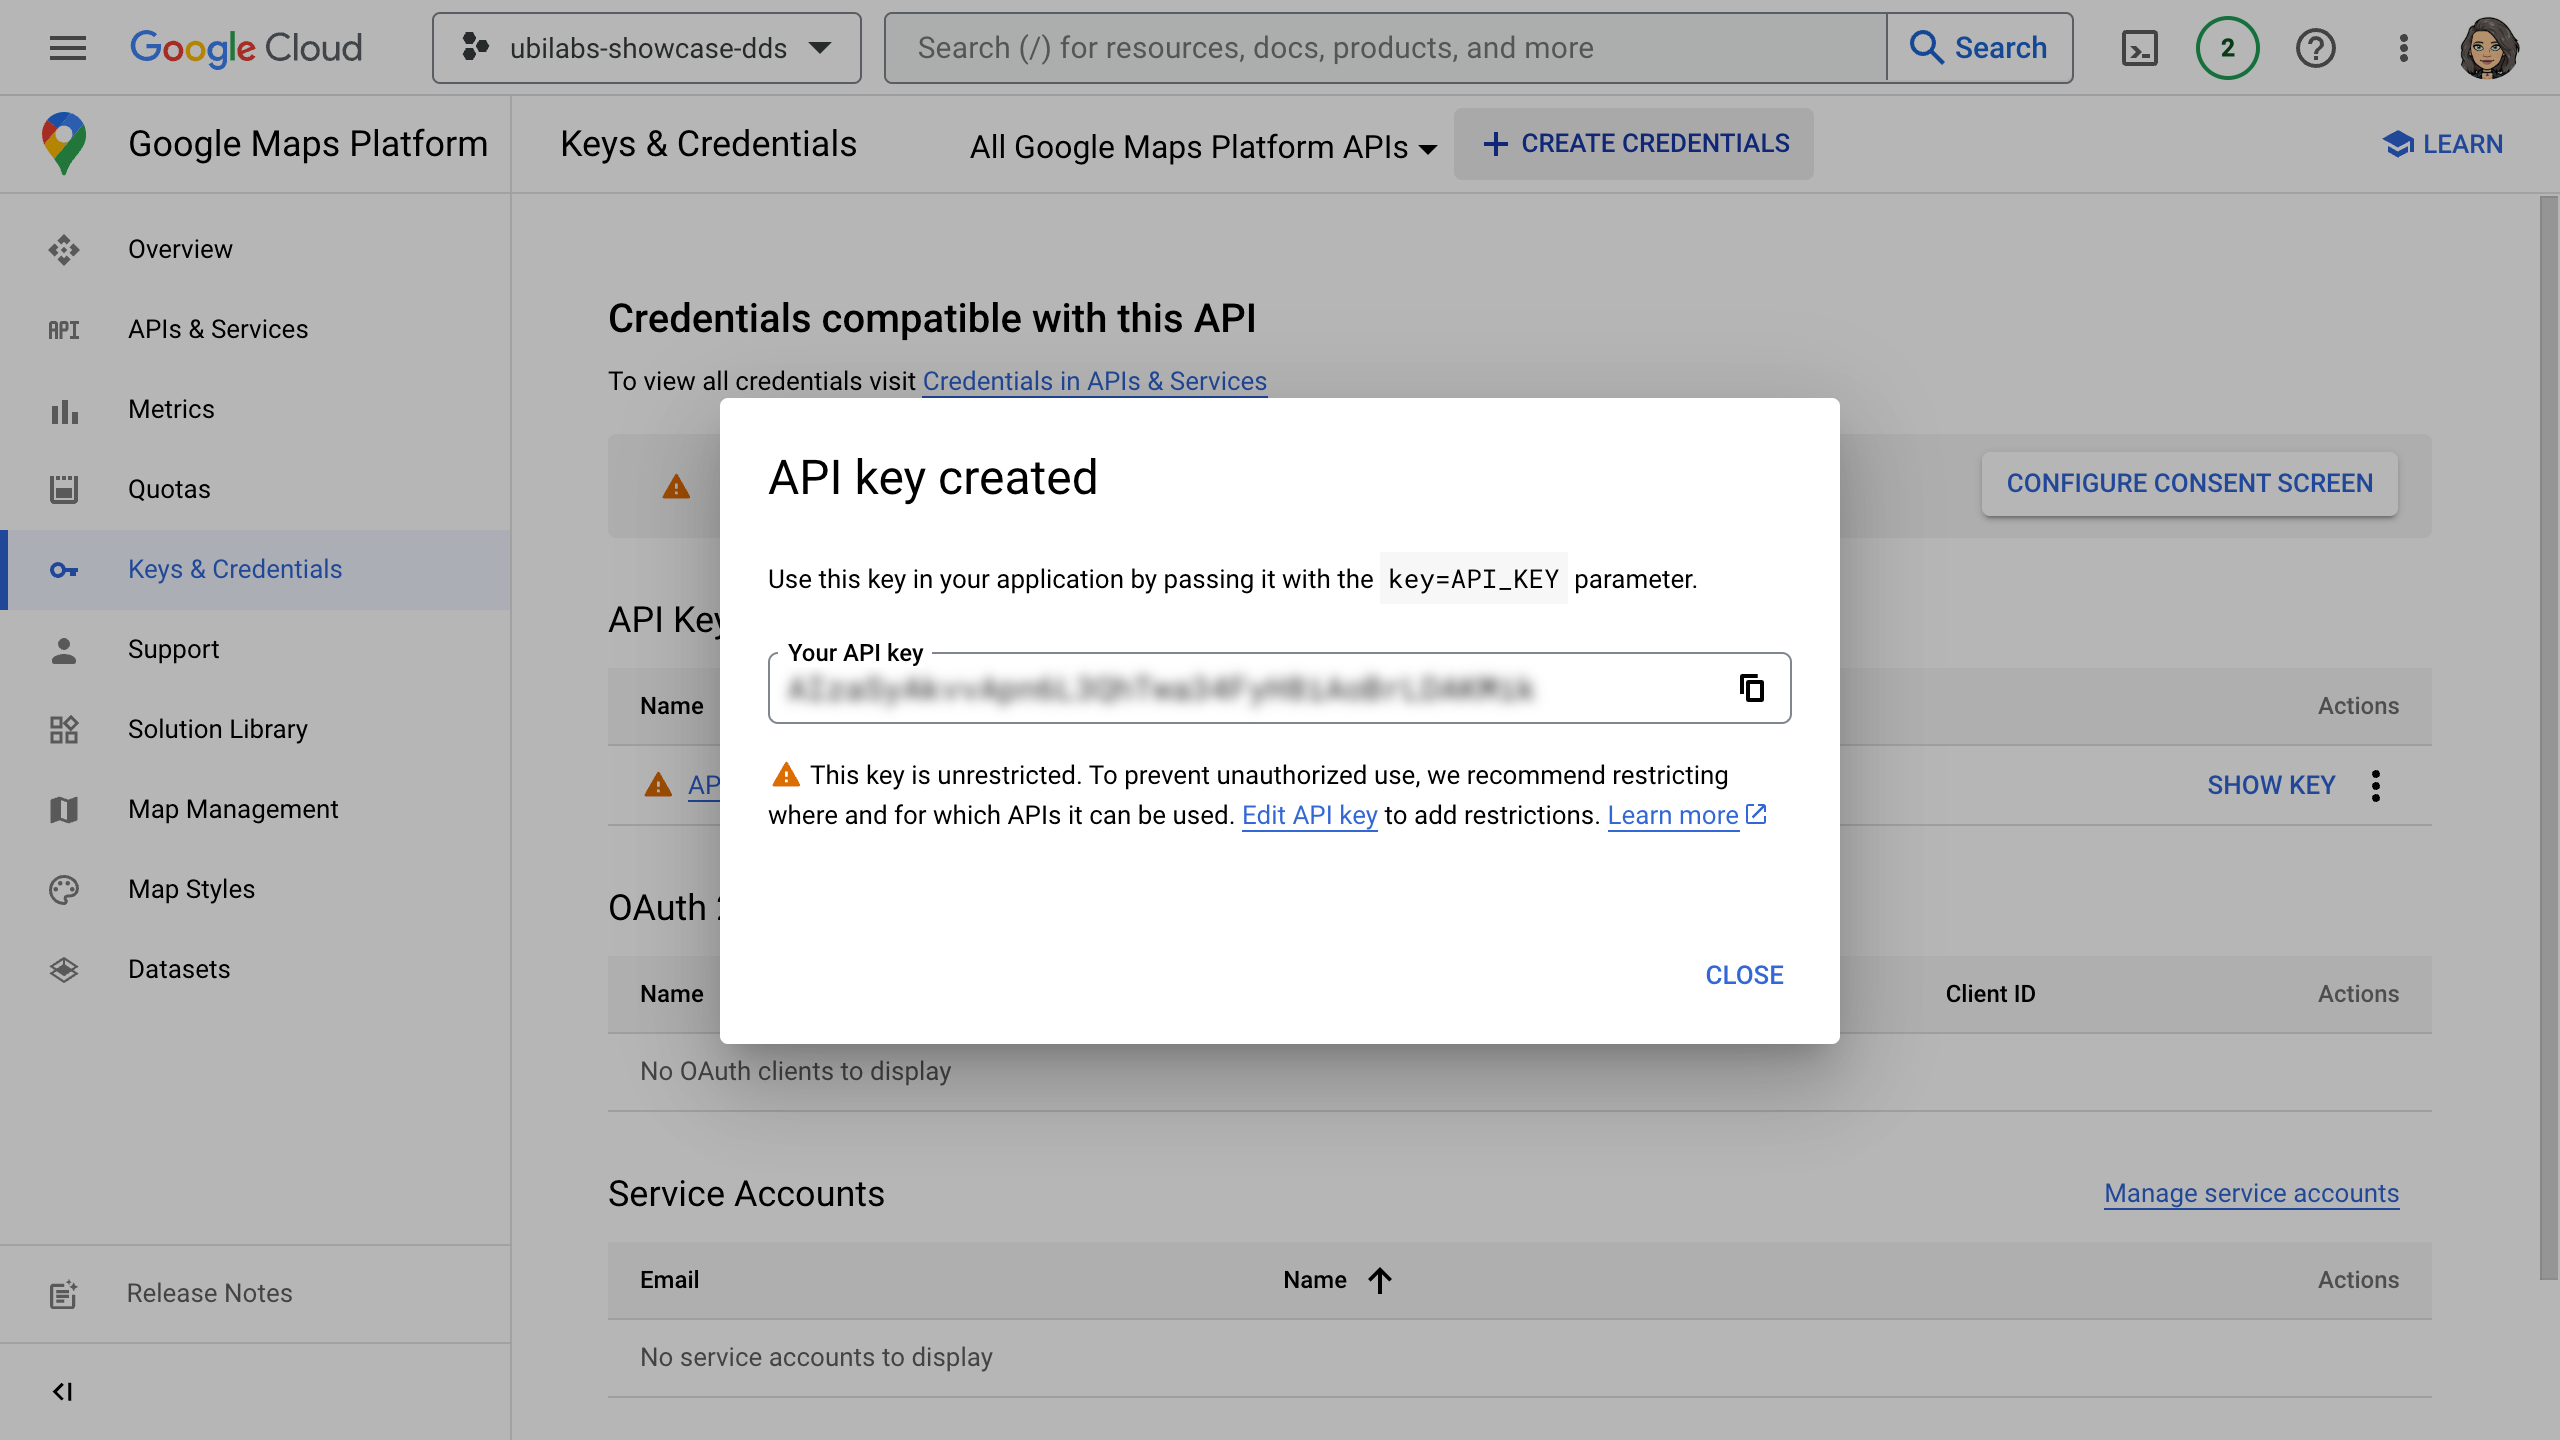
3. Create API key
Create a Google Maps API key via “Keys & Credentials” → “Create credentials” → “API key”. The API key is a unique ID that authenticates the use of your map. Review best practices on API and application restrictions for maximum security.

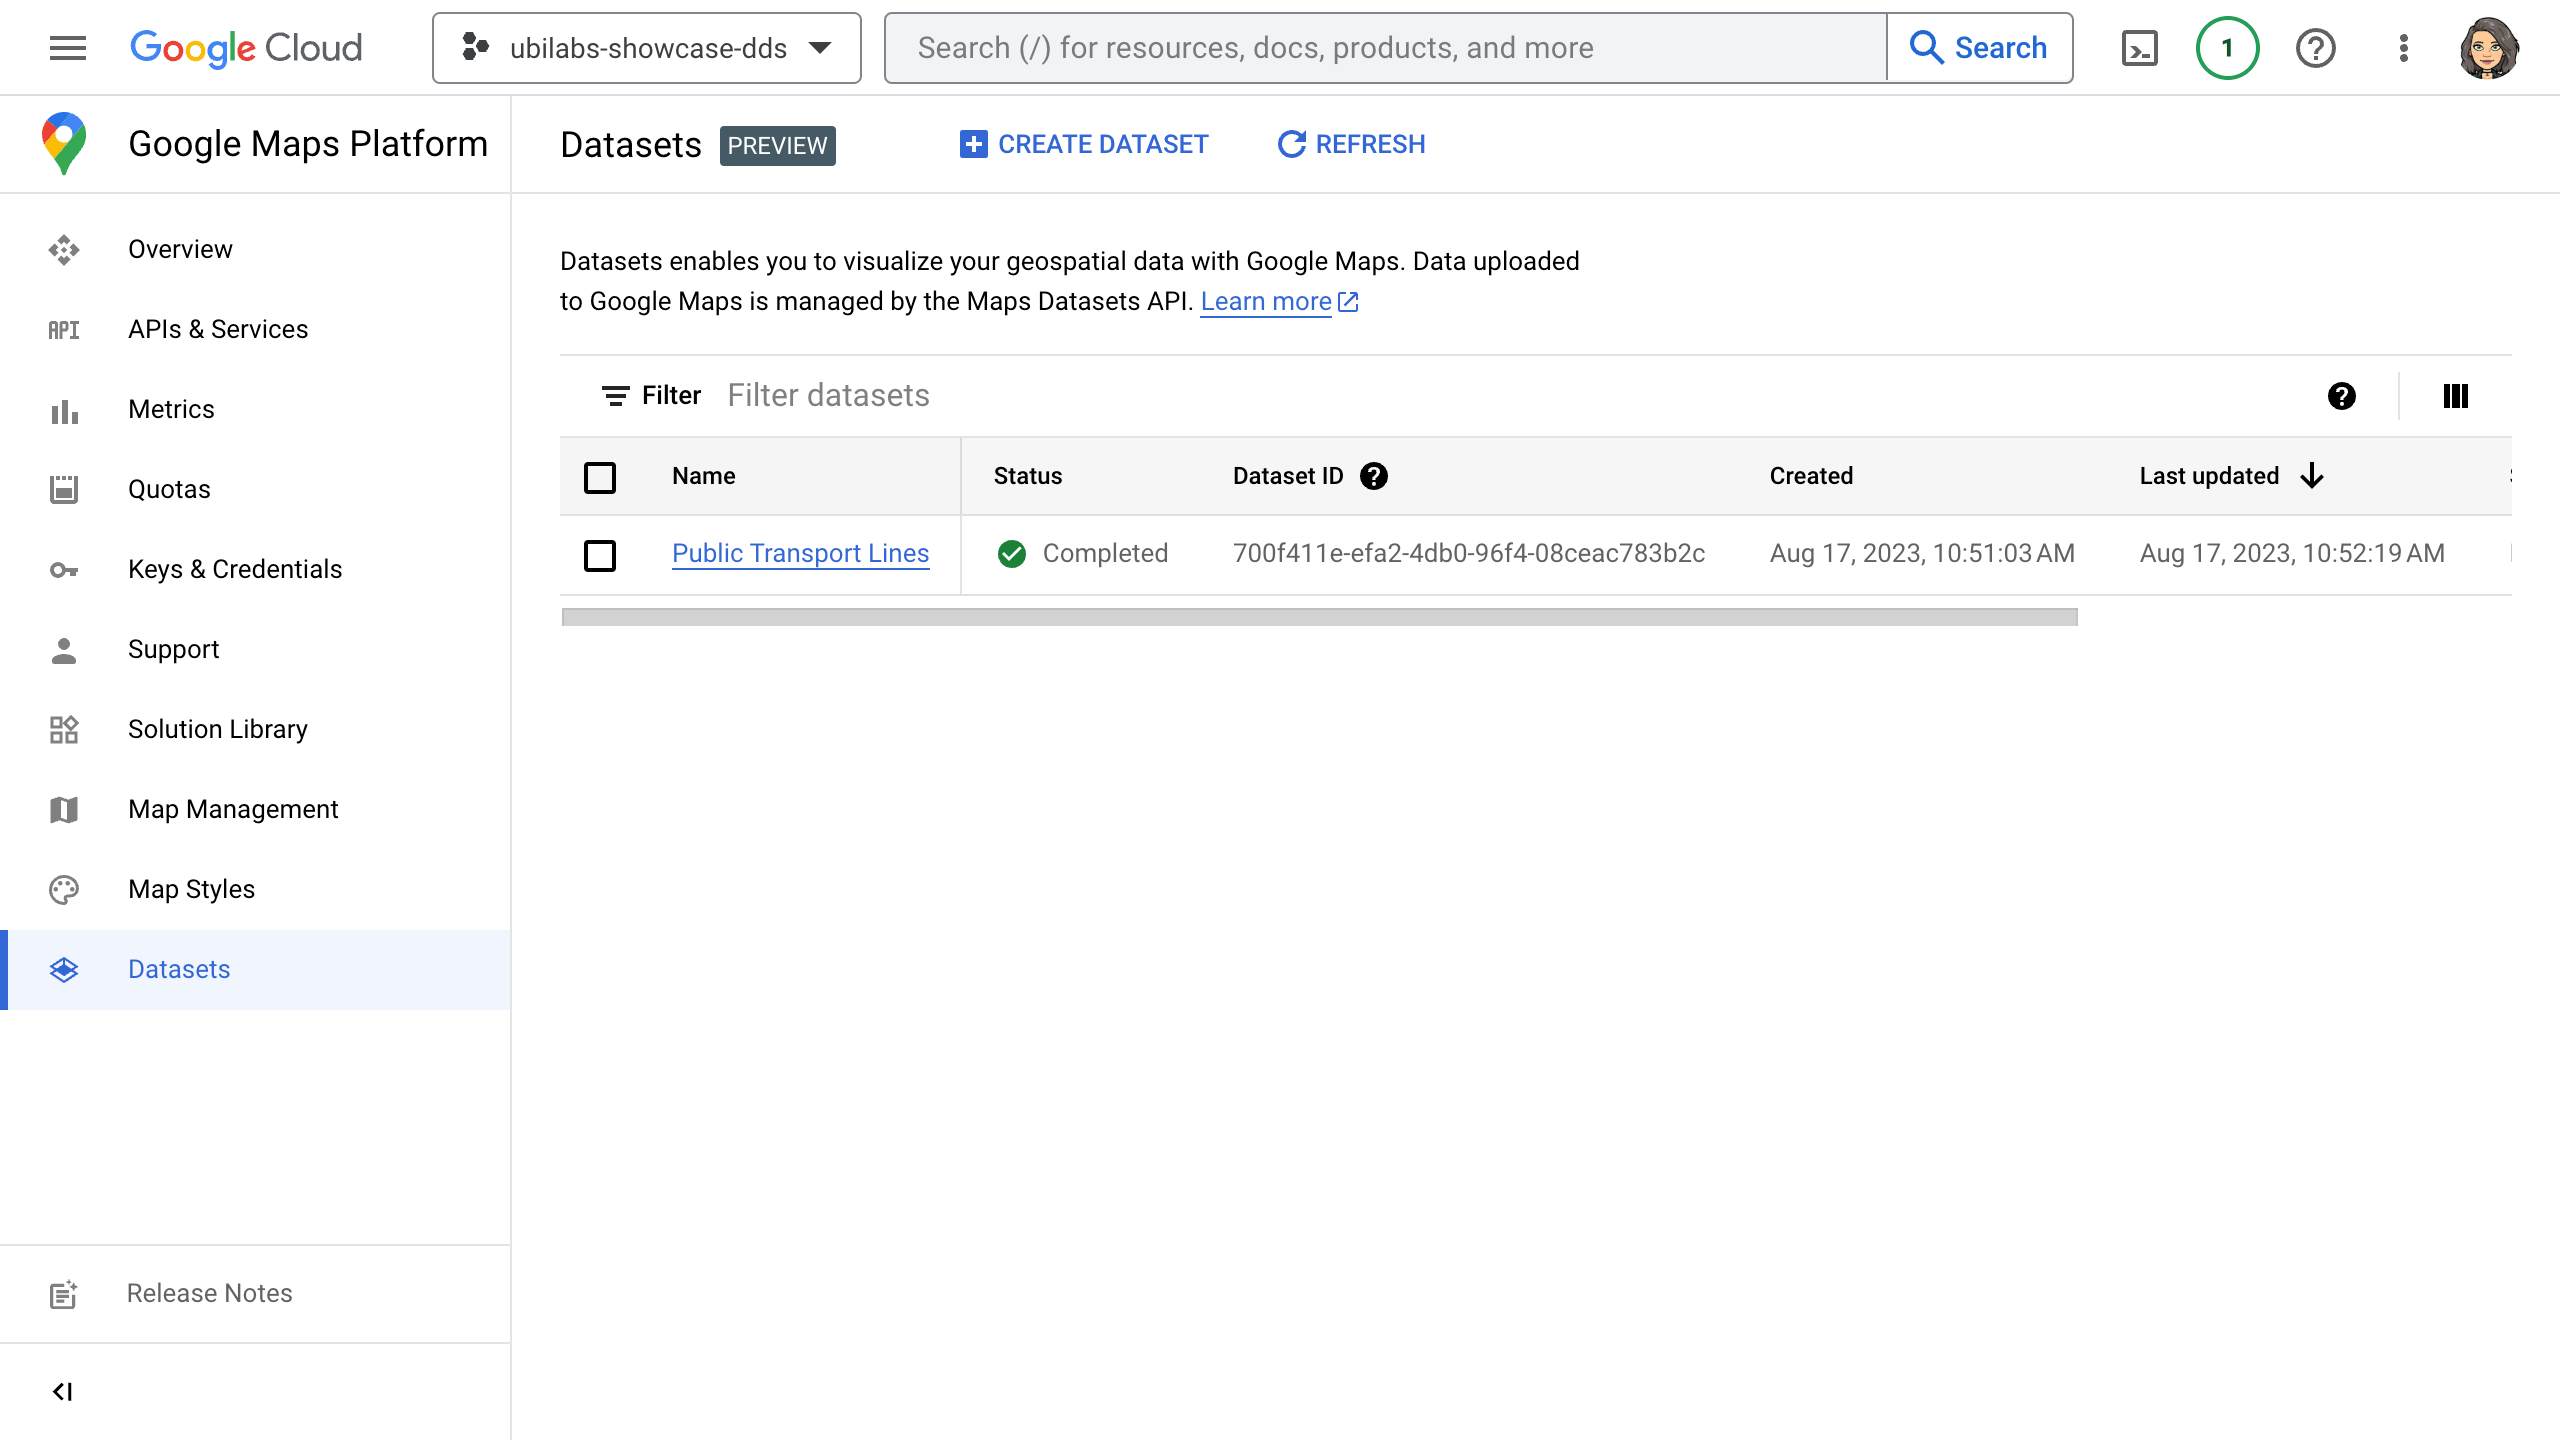
4. Create dataset
Now you can create the dataset. For our tutorial we provide you with two datasets for public transport in Hamburg here – one for the public transport lines, one for the stops.*
If you have saved the datasets locally, navigate to "Google Maps Platform" → "Datasets" and click on "Create dataset" to upload the datasets individually. Give the datasets a name before uploading. We will name our example datasets "Public Transport Lines" and "Public Transport Stops".
Important information about the datasets that you can visualize with Data-driven styling:
- The data must be in KML, GeoJSON, JSON or CSV format.
- The dataset must be no larger than 350 MB (at least while Data-driven styling is still in the preview phase).
- The name you give to the dataset must be unique.
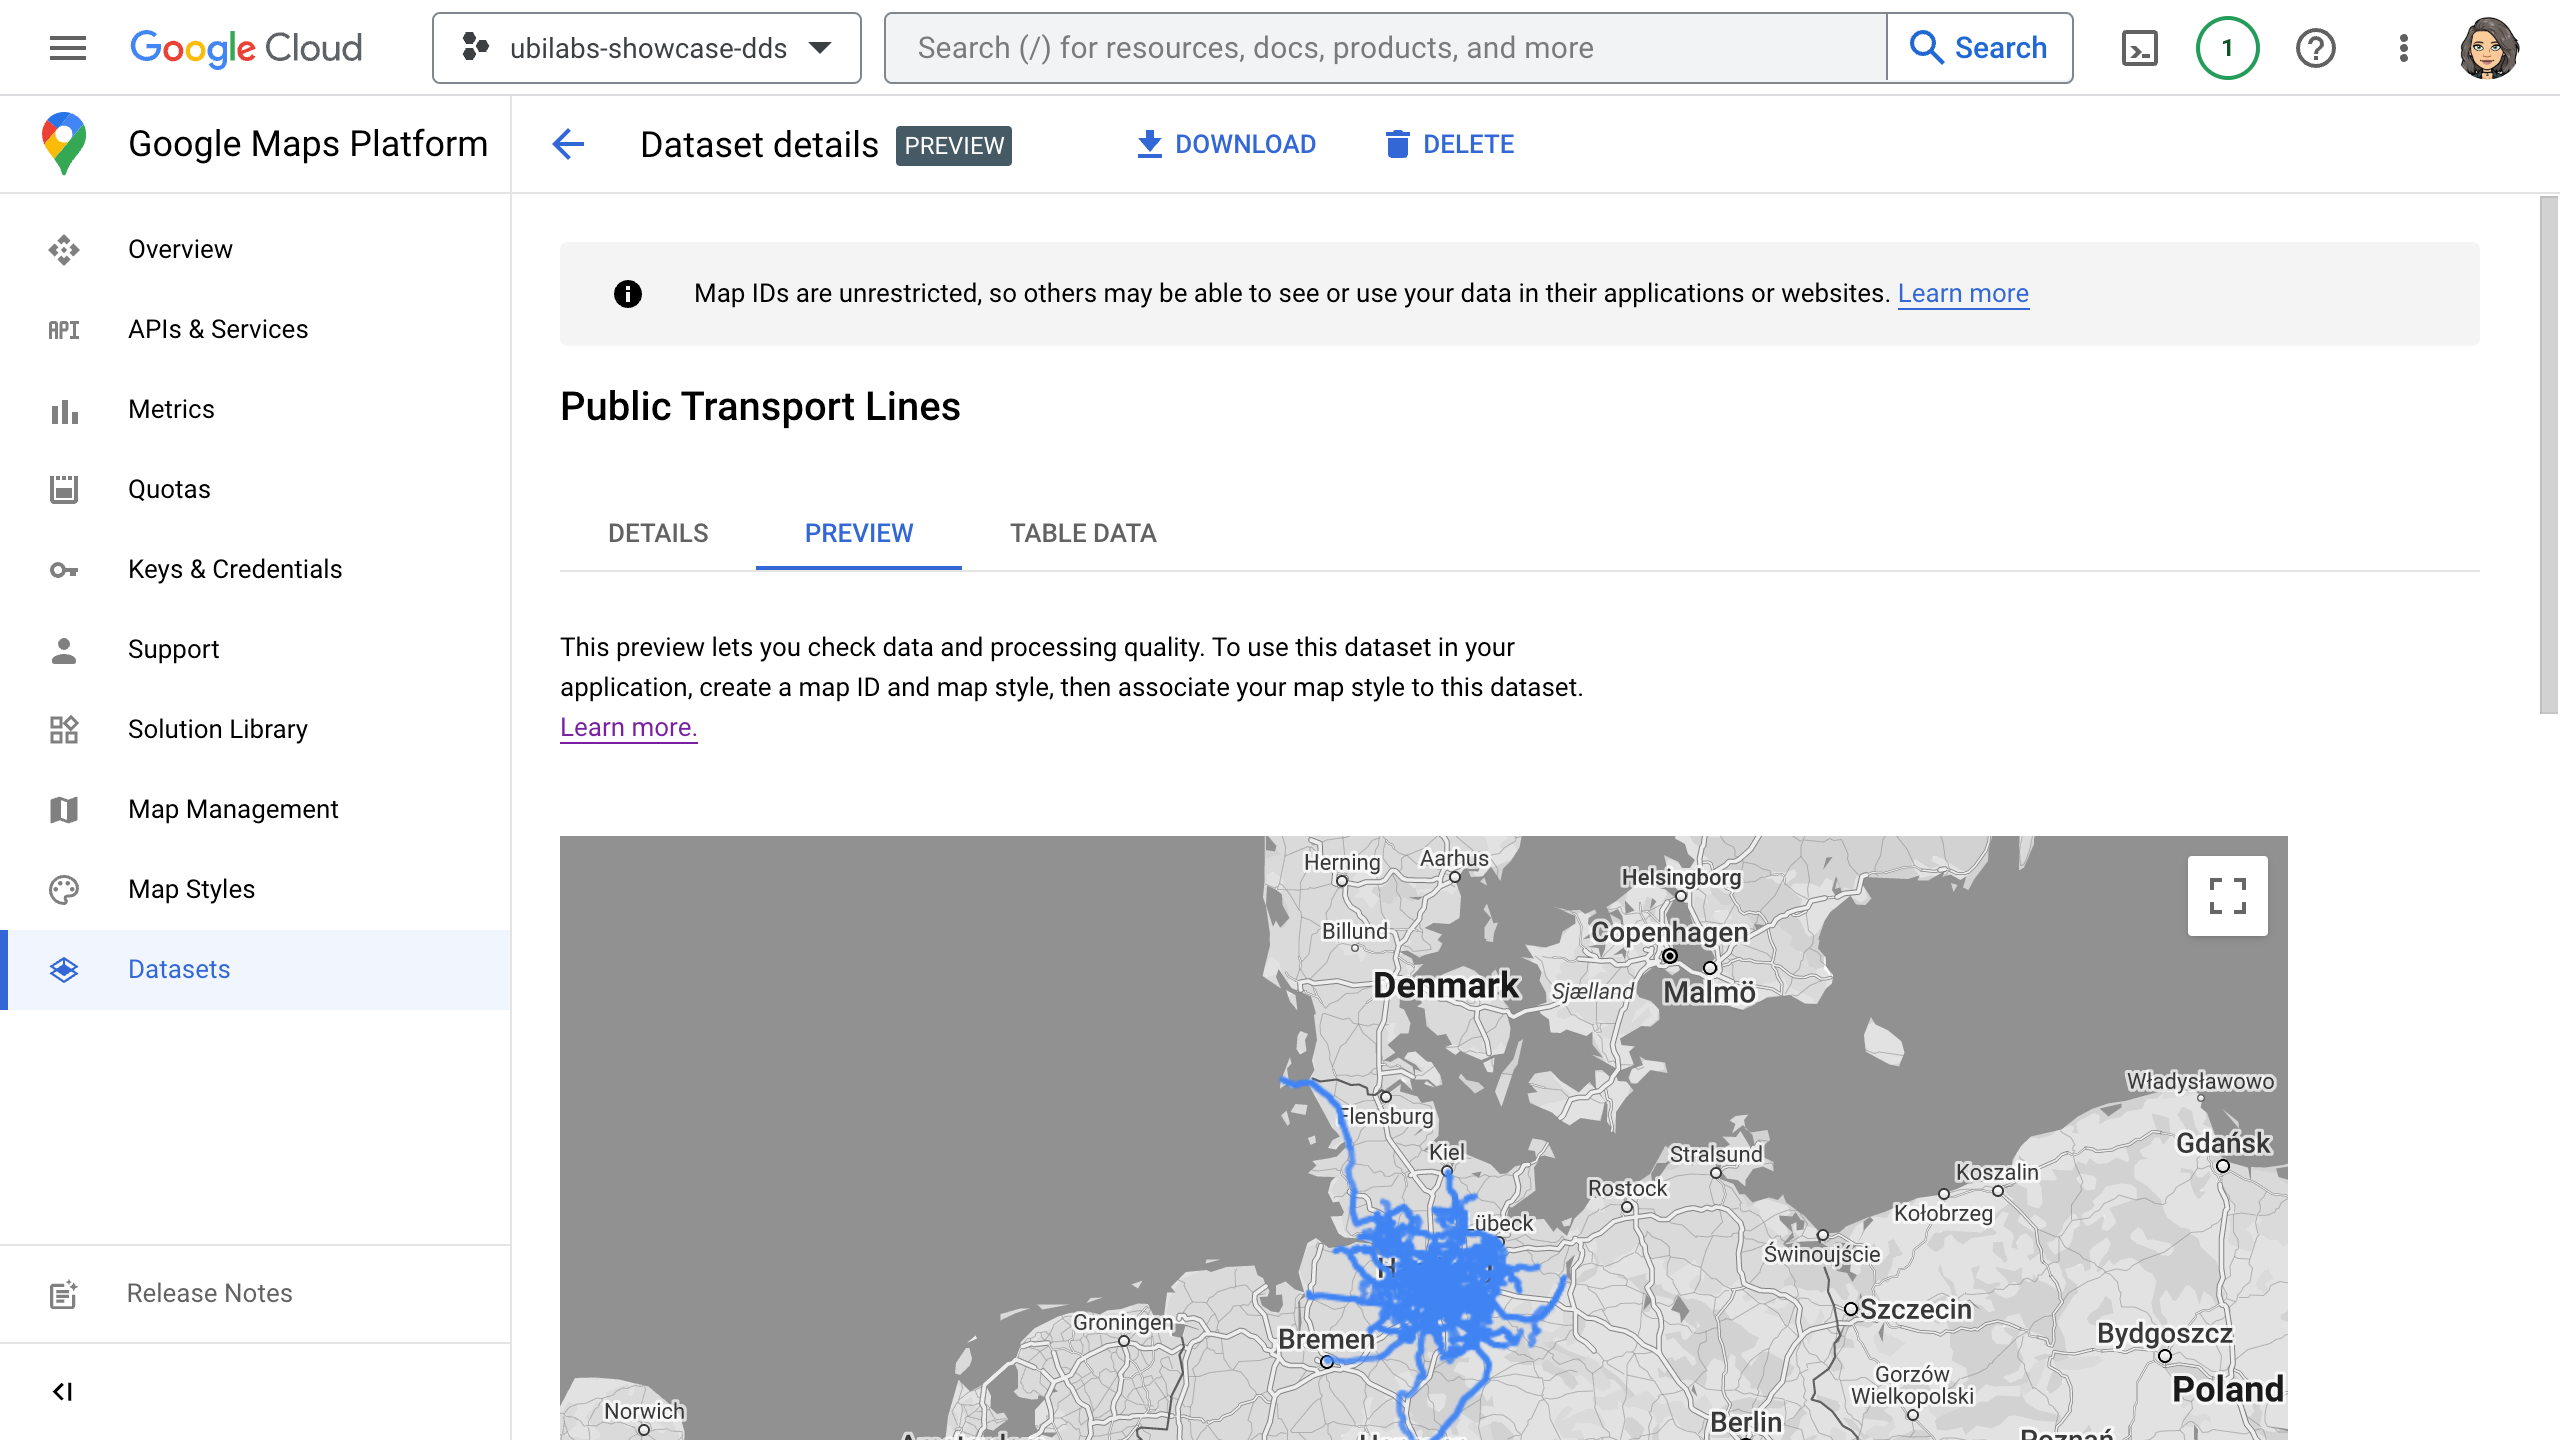
Once the upload of a dataset is complete, you can check its status. If there are any error messages, they will be displayed automatically.

If you click on the data, you can also see a preview of how they will look on the map. The screenshot shows a preview of our dataset "Public Transport Lines".

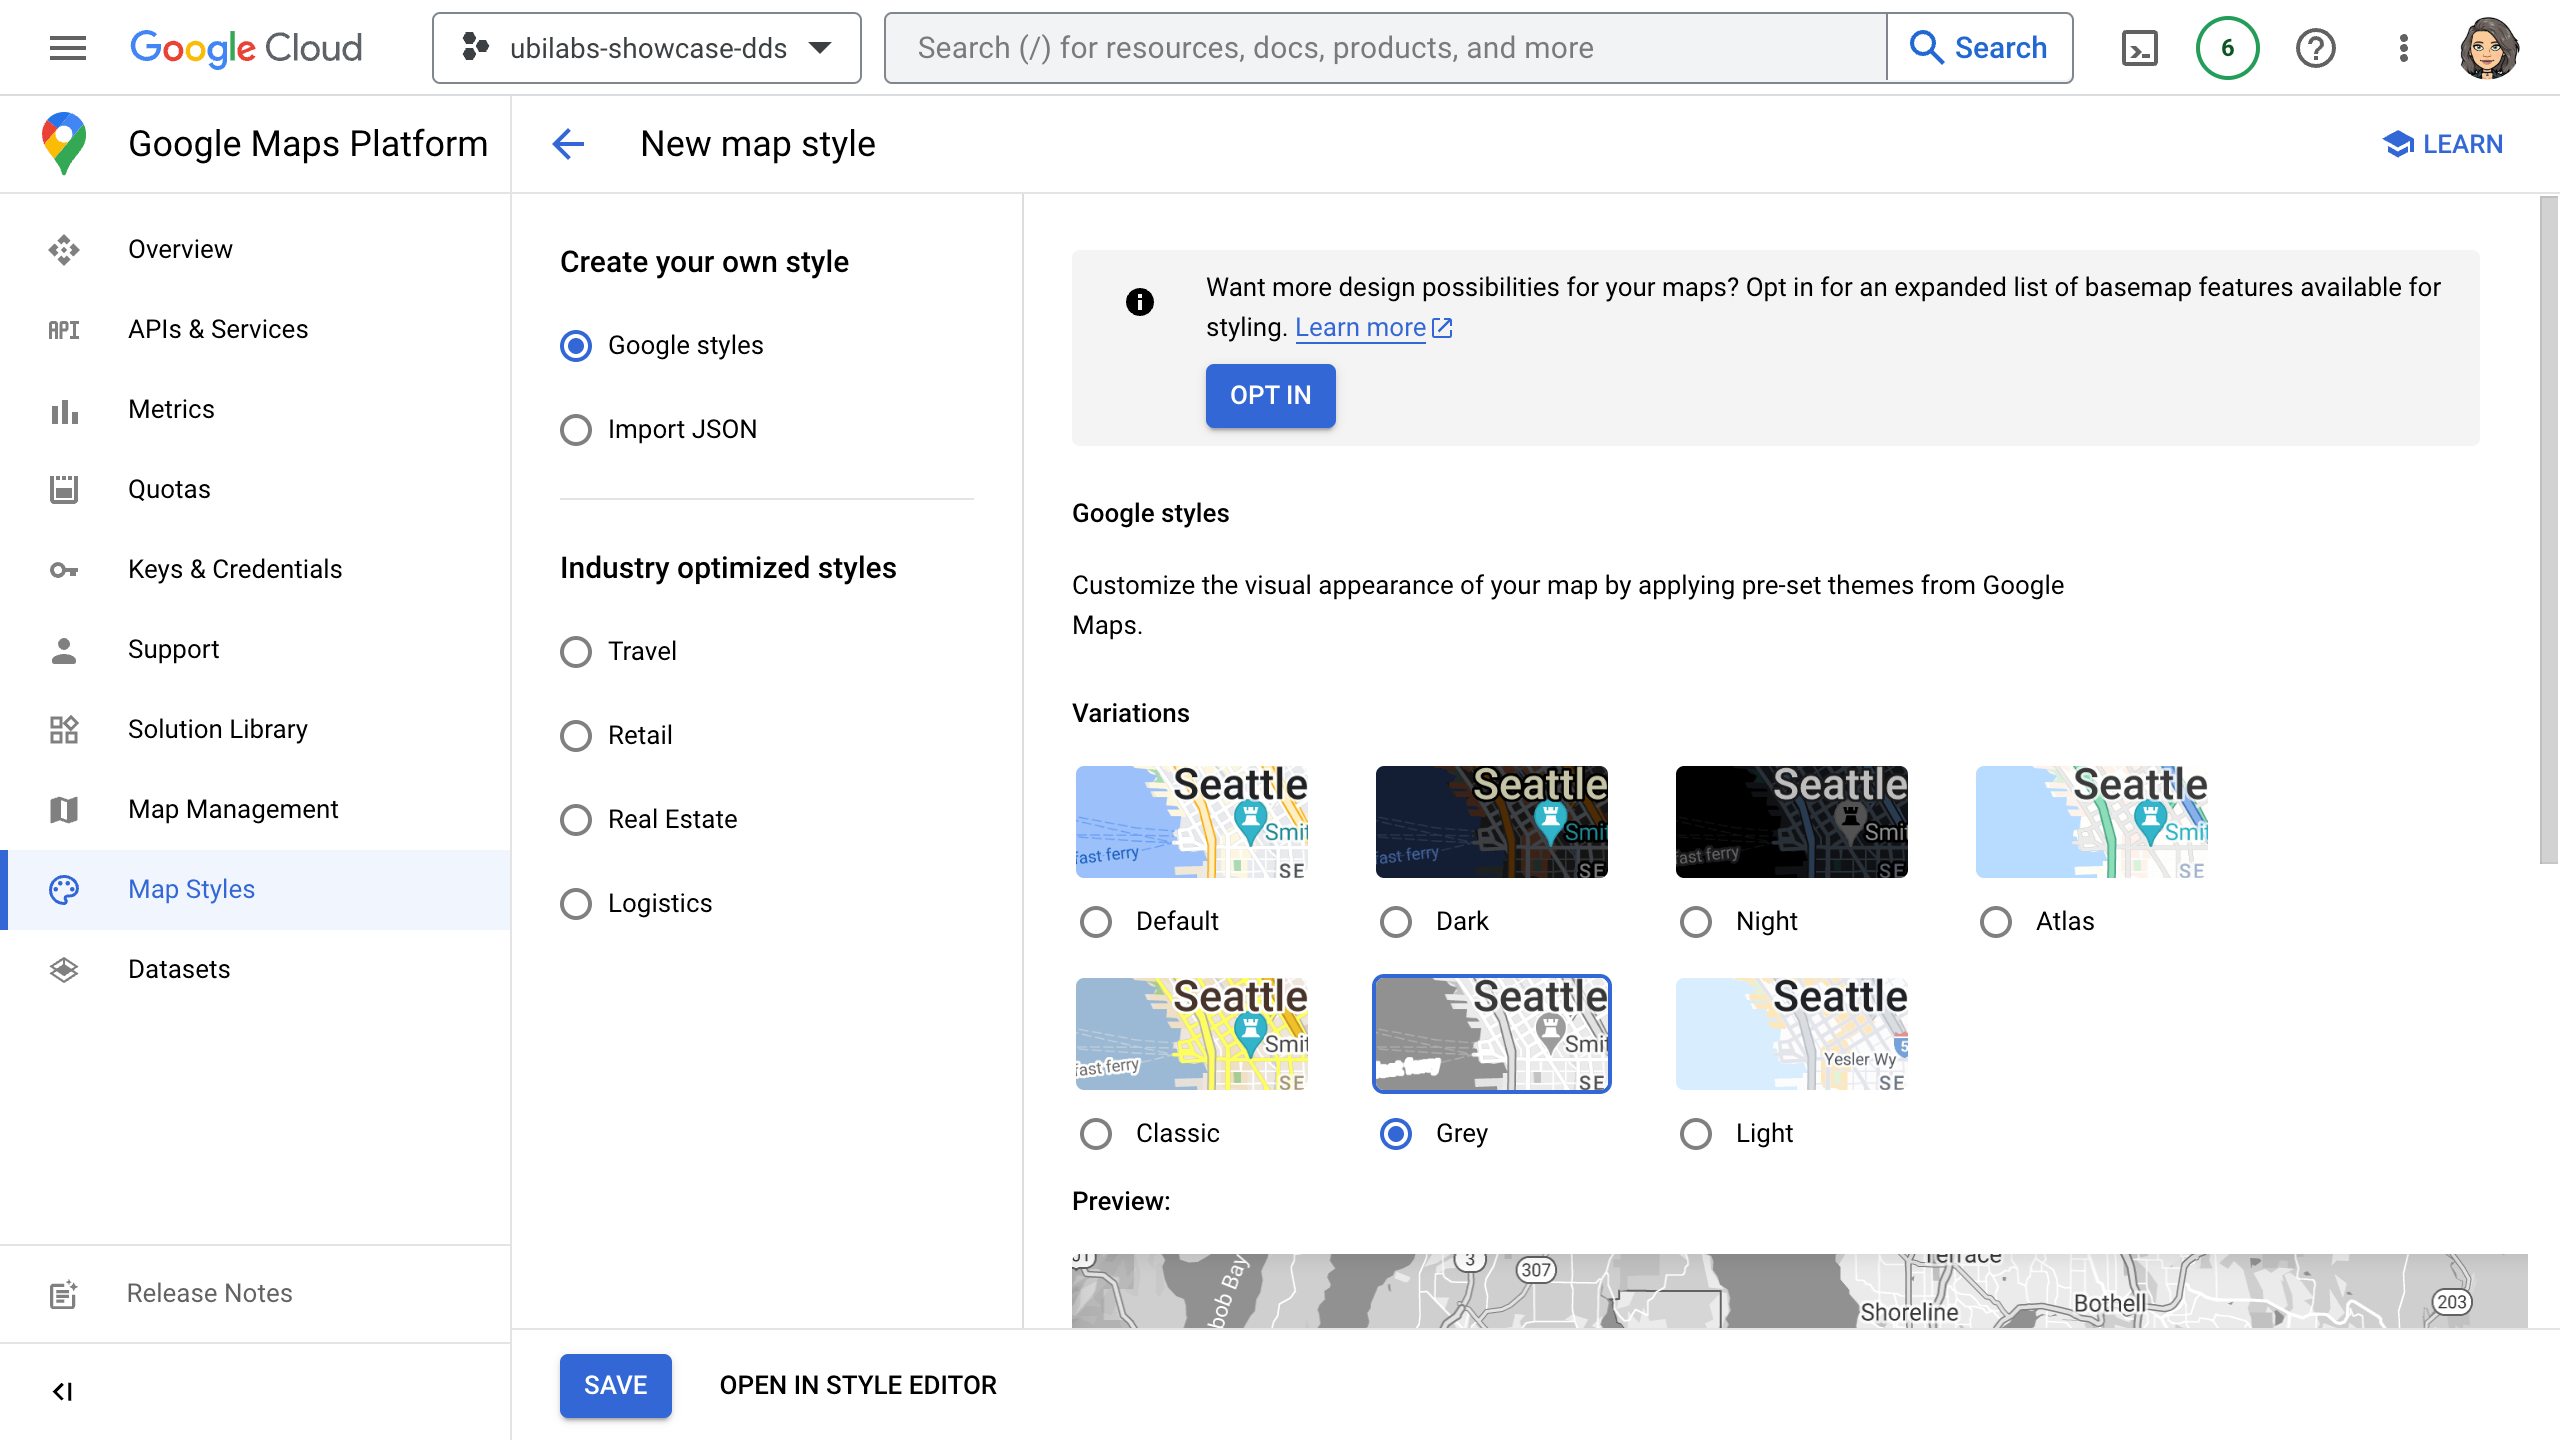
5. Create map style
In the next step you can create your map style. Go to "Google Maps Platform" → "Map Styles" →" Create Map Style" and choose the default map style or create your own style in the style editor. In our example we use the style "Grey".

6. Create map ID
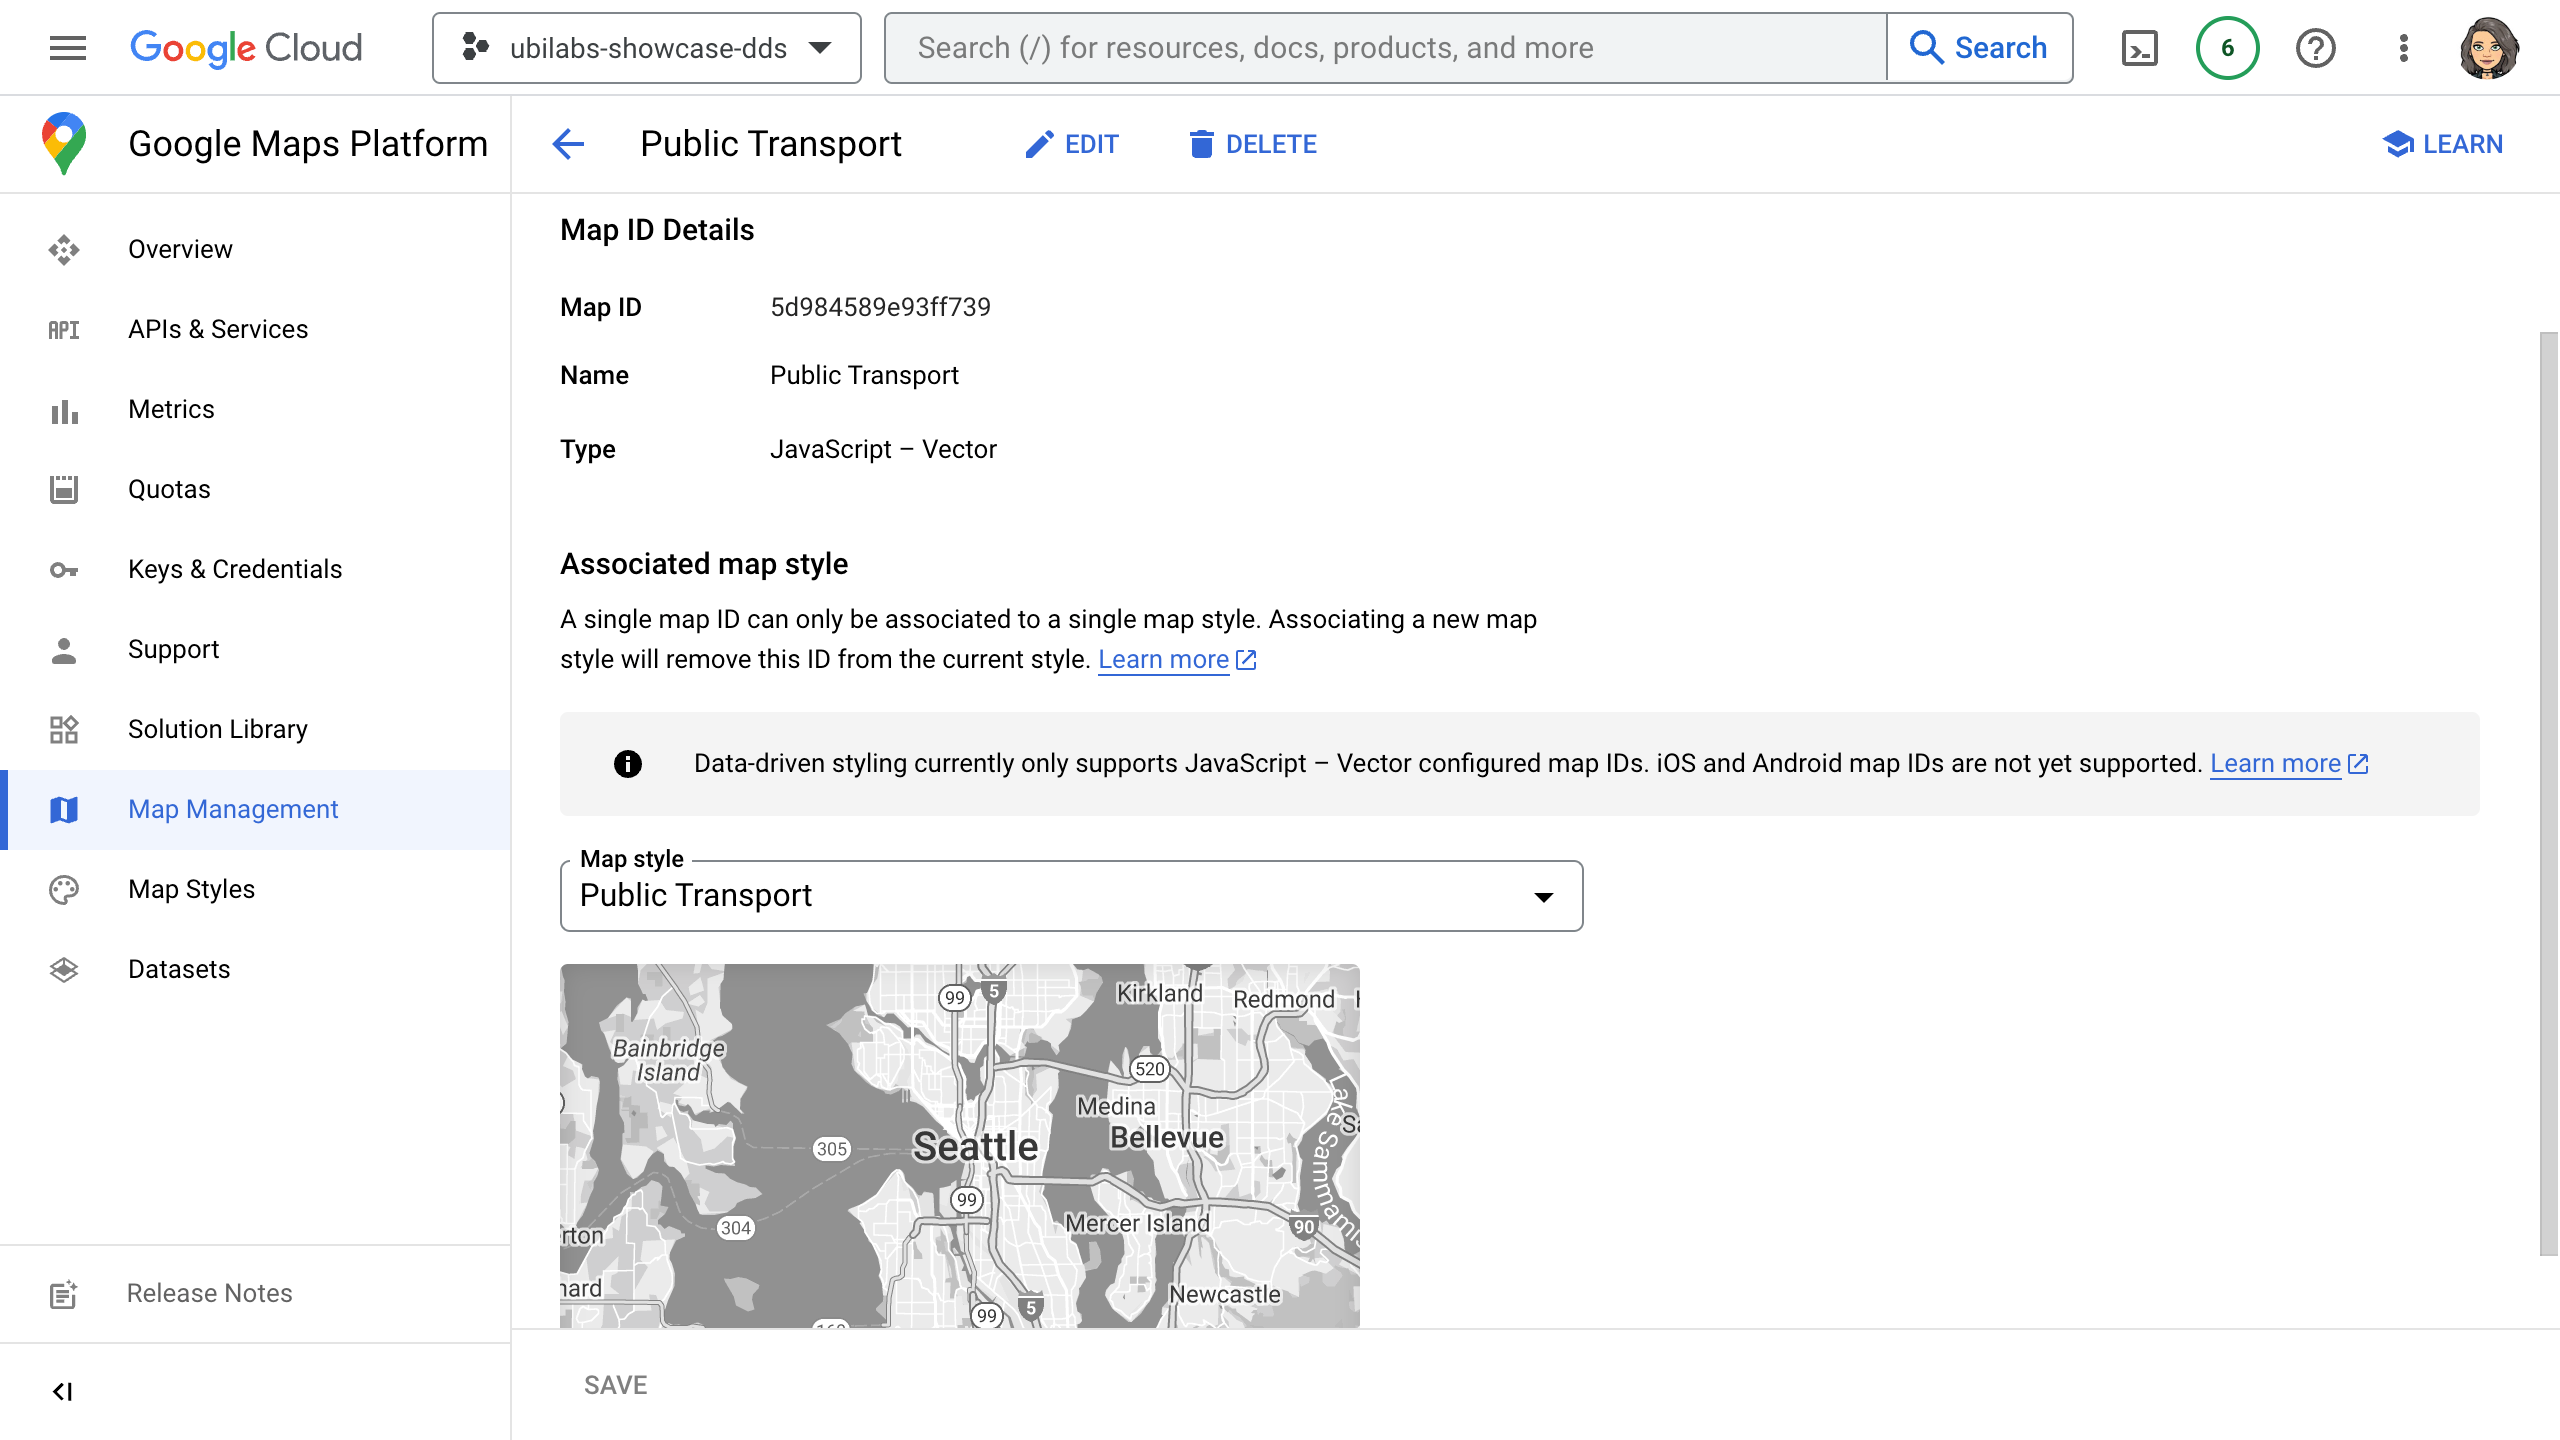
Now create a map ID via "Google Maps Platform" → "Map Management" → "Create Map ID". You need the map ID to connect your map with your map style and your dataset. Enter the following information about your map: a name (in our example we use "Public Transport"), an optional description, and the map type (must be JavaScript). Then select the option "Vector", because only vector map IDs work with Data-driven styling.
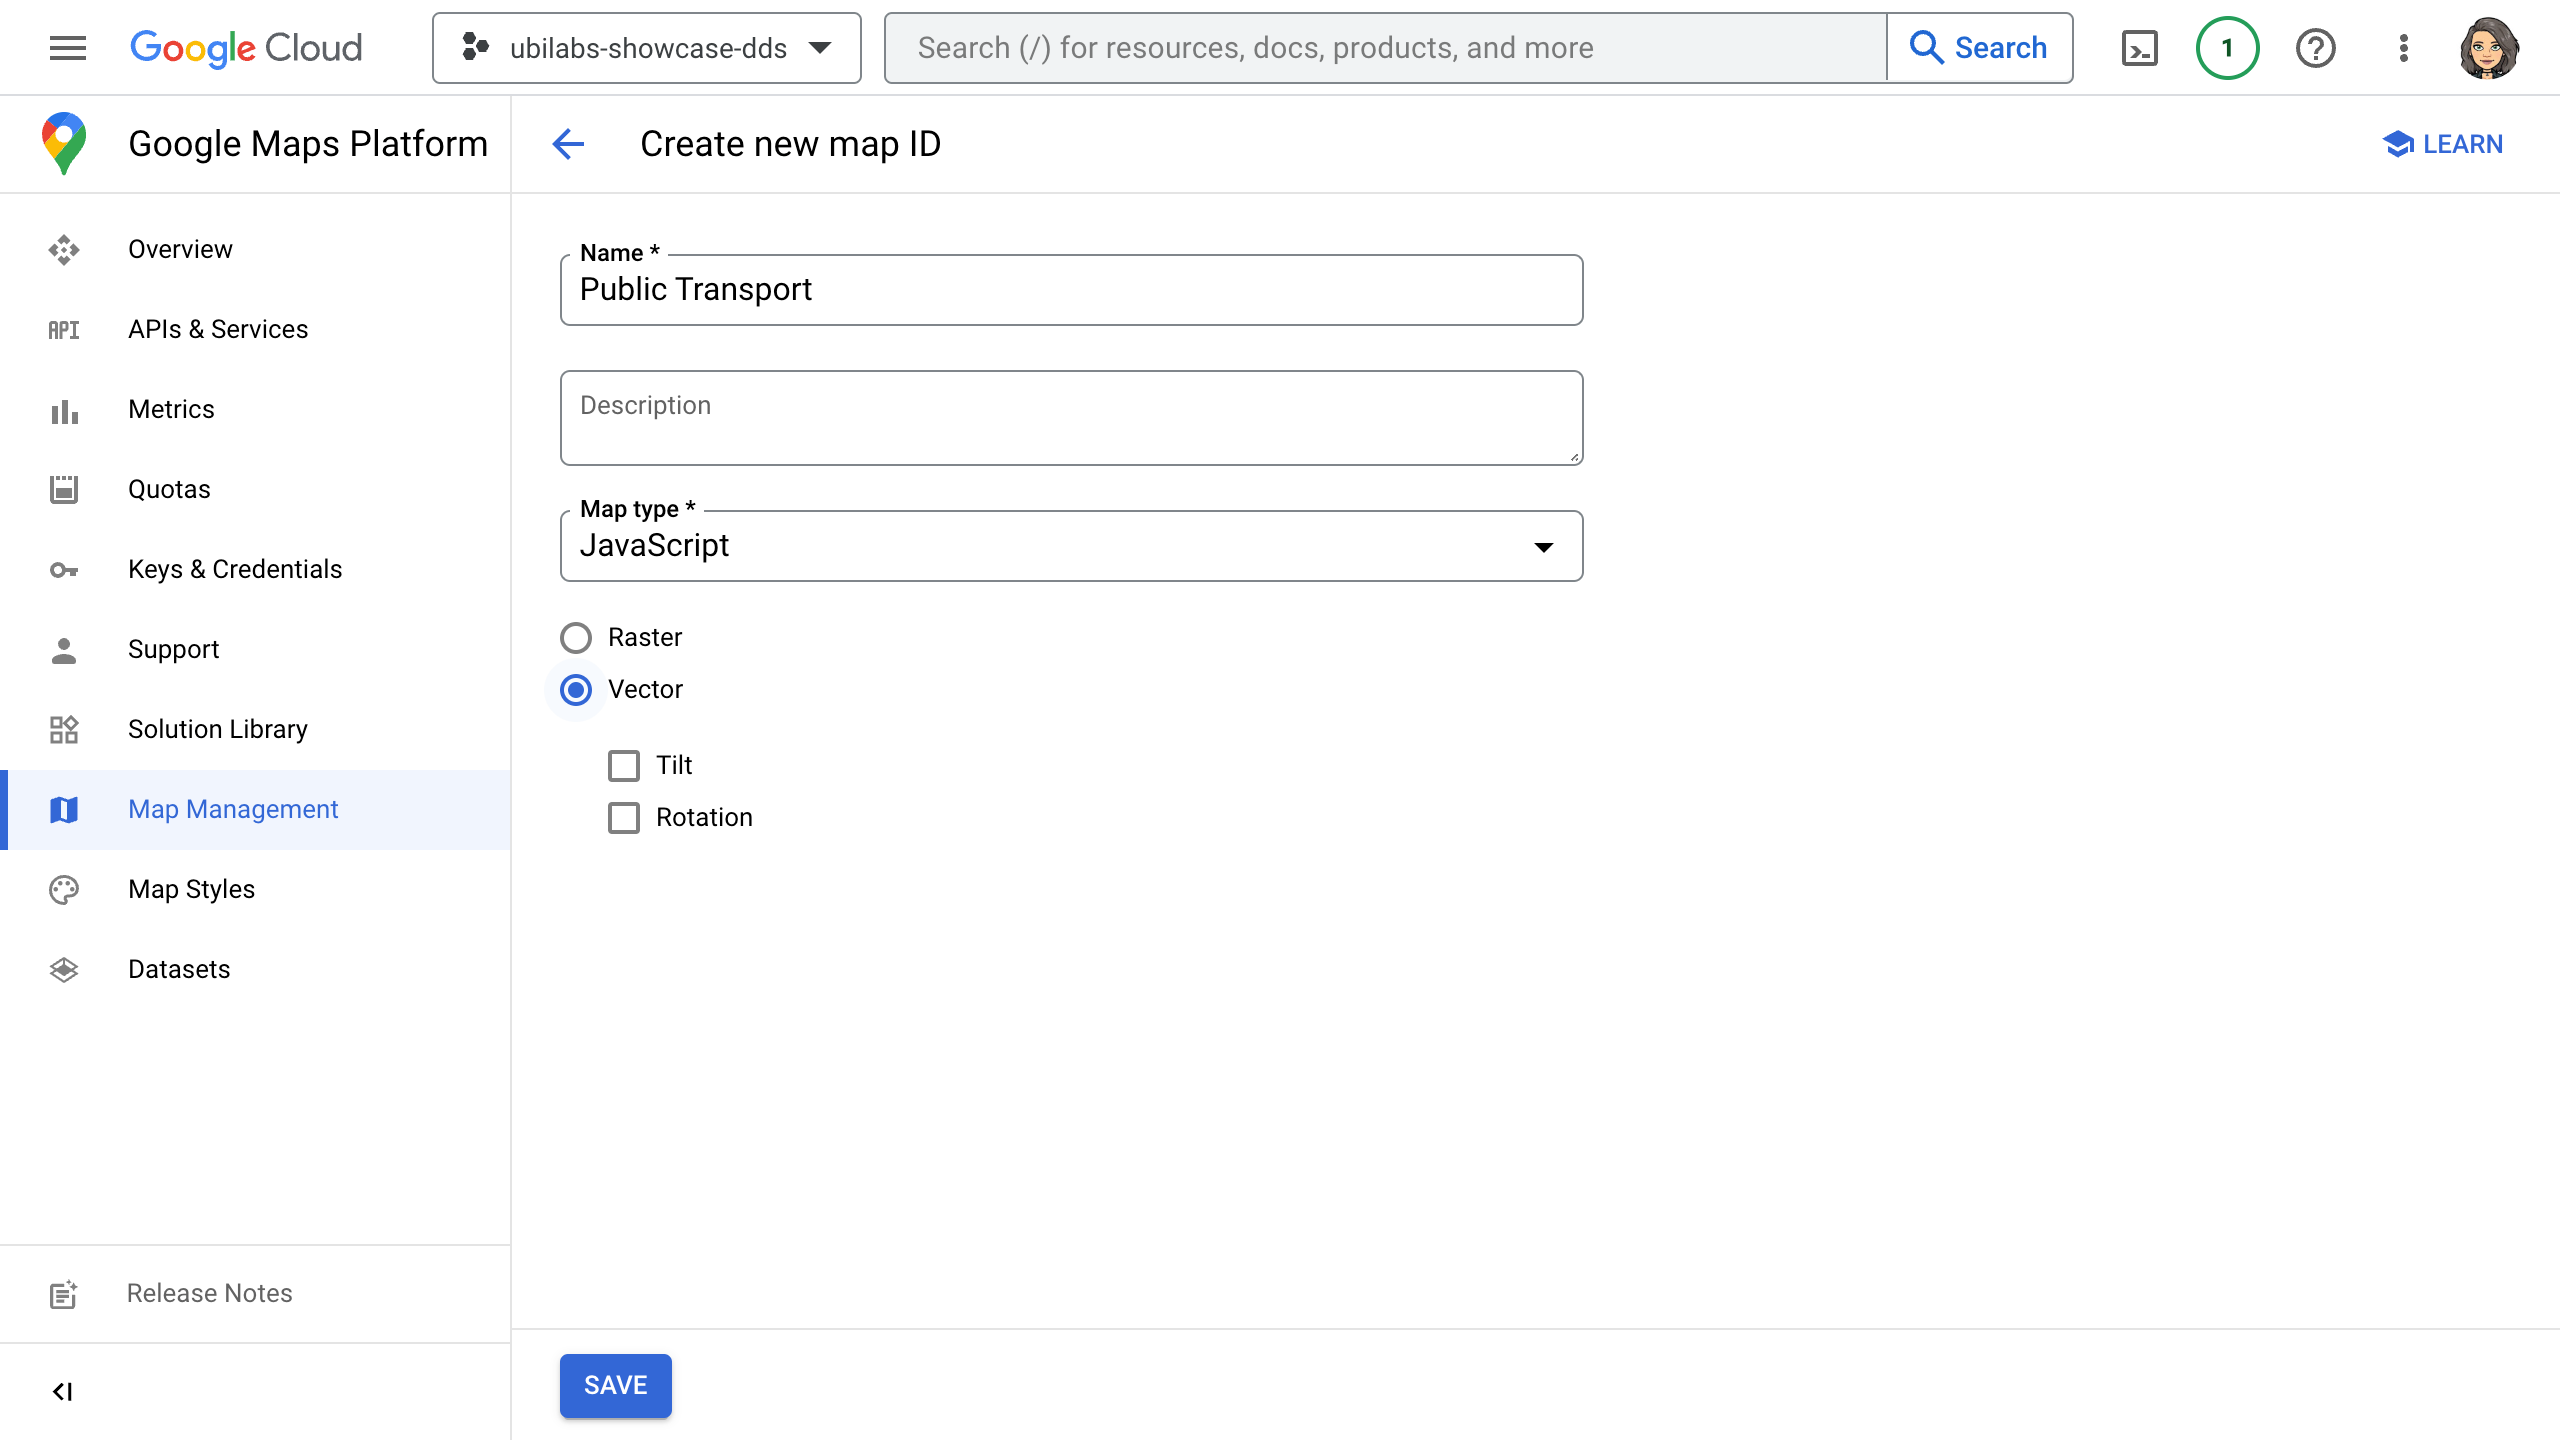

Once the map ID is created, you need to associate it with your map style.

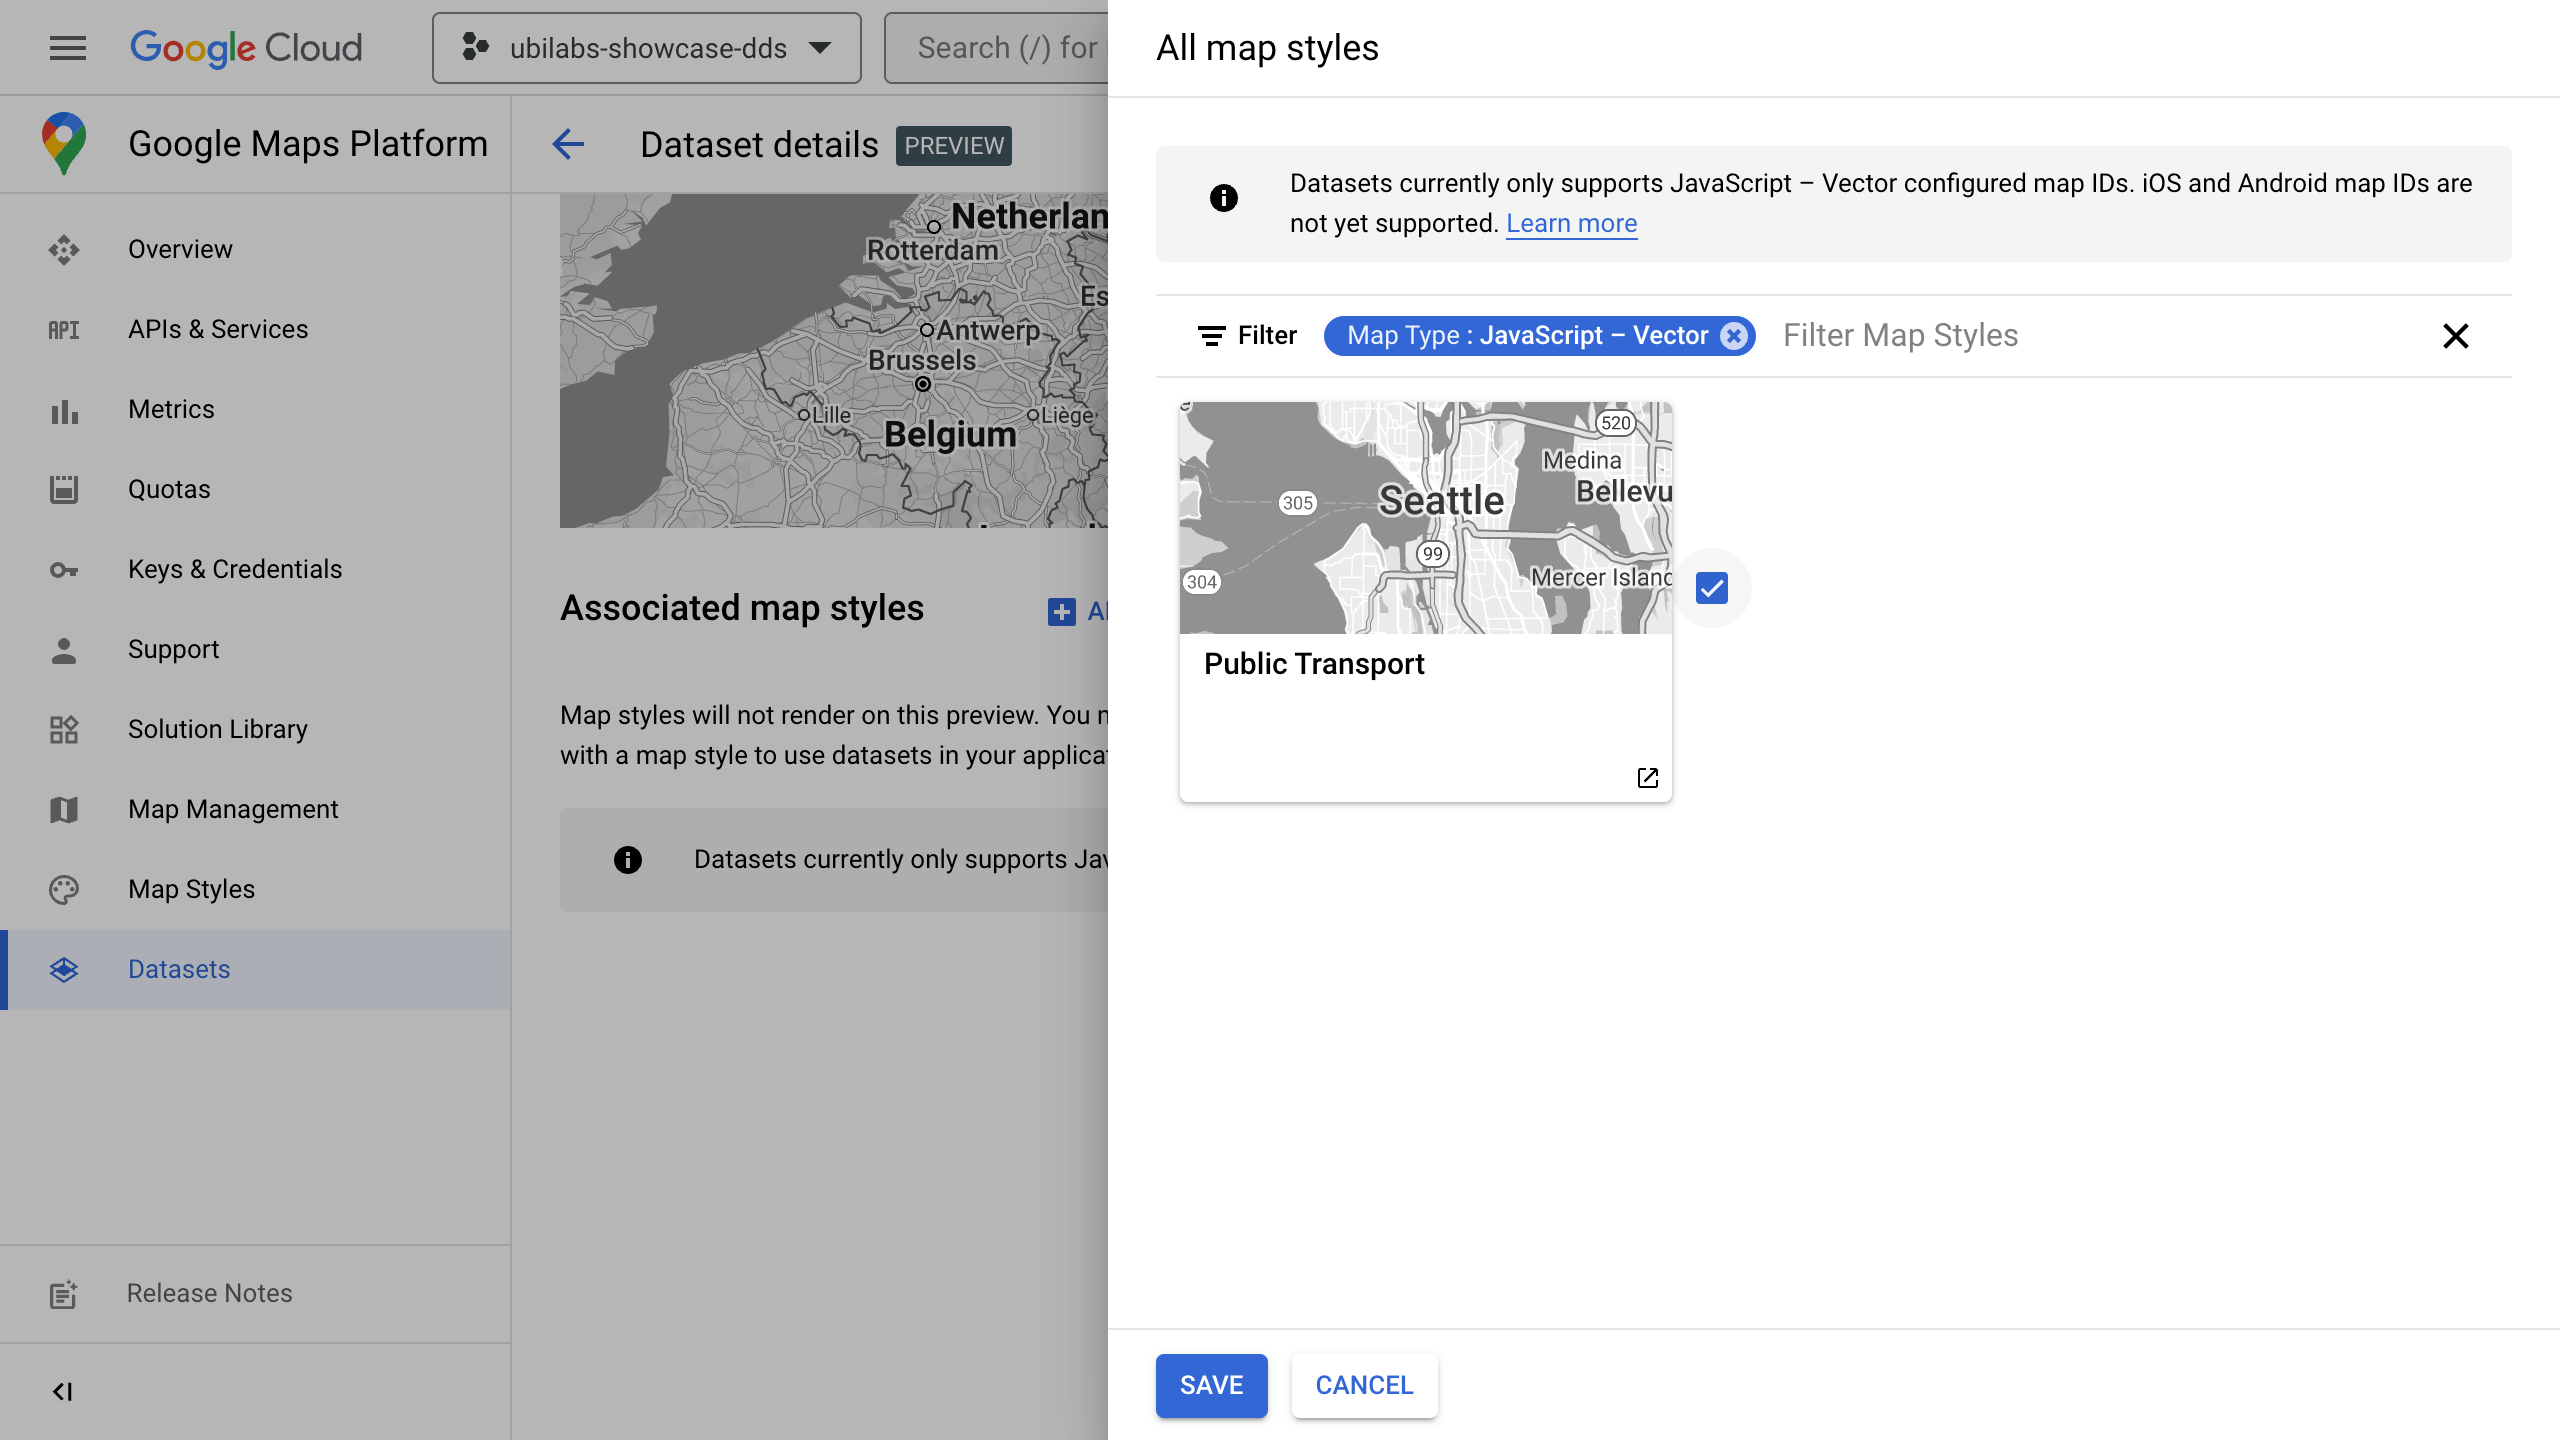
7. Associate map style
Now you need to associate your map ID and map style with your datasets so that your data is connected to the correct map. To do this, go to a dataset, click on the preview, scroll down a bit and select your map style via "Add Map Style". Click on "Save" to link your dataset.

8. Set up Google Map
Now you can add your datasets to your application.
For this, create a Google Map and add your API key to the script tag. Note: Since Data-driven styling is currently still in beta, your script tag must also indicate this. You also need to specify a callback function that will create the map when the API is loaded. Add the initMap function for this:
<script src="https://maps.googleapis.com/maps/api/js?key=<YOUR_API_KEY>&callback=initMap&v=beta"></script>Now add a div element to your HTML where your map should be rendered. Always set the map height explicitly to define the size of the div element that contains the map.
<style>
  #map { height: 800px; }
</style>

<body>
  <div id="map"></div>
</body>
Now add the initMap function to your code and create a Google Map. Add the map ID to the map options.
function initMap() {
  // The location of Hamburg
  const position = { lat: 53.566, lng: 9.991 };

  const map = new google.maps.Map(document.getElementById('map'), {
    zoom: 10,
    center: position,
    mapId: '<YOUR-MAPID>',
  });
};9. Connect data
Now create the dataset feature layers to be able to display your data on the map. In our example, we add the dataset IDs of our two datasets containing data on the public transport lines and stops in Hamburg.
const transportLinesId = <YOUR-LINES-DATASET-ID>;
const transportStopsId = <YOUR-STOPS-DATASET-ID>;

const linesLayer = map.getDatasetFeatureLayer(transportLinesId);
const stopsLayer = map.getDatasetFeatureLayer(transportStopsId);
10. Style data
Use the style option to style your datasets. You can also style the data using the FeatureStyleFunction based on the attributes of each feature. In our example we have defined the color, size, and opacity of the public transport lines and stops.
linesLayer.style = {
  strokeColor: '#FF6E78',
  strokeWeight: 2,
  strokeOpacity: 1,
};

stopsLayer.style = {
  fillColor: '#5A78FA',
  fillOpacity: 1,
  pointRadius: 2,
};The result: Hamburg's public transport network on an interactive map
Voila! The result is an interactive map of your data, styled according to your requirements. Our example shows the public transport lines in Hamburg in a red shade and the stops in a blue shade on a grey Google Map – in only 10 steps and with a few lines of code.


*The datasets are GTFS timetable data of the HVV from August 2023 to December 2023. We obtained the data from Hamburg's transparency portal (where you can also find information on the license) and converted it to geojson format. Our datasets are available for download here.